The text below is originally from a thread on the now defunct GWTW forum.

The build has to get started yet. Everything is here, printed templates, Icarex, rods, etc. I’ll post a picture of the build after each step. The build will take about two weeks, I think. I’m only building when the kids are in bed.
I’ll make the draw (my sons will do that actually) when all 30 tickets are sold or the kite is finished.
I’ll cut the templates tonight.
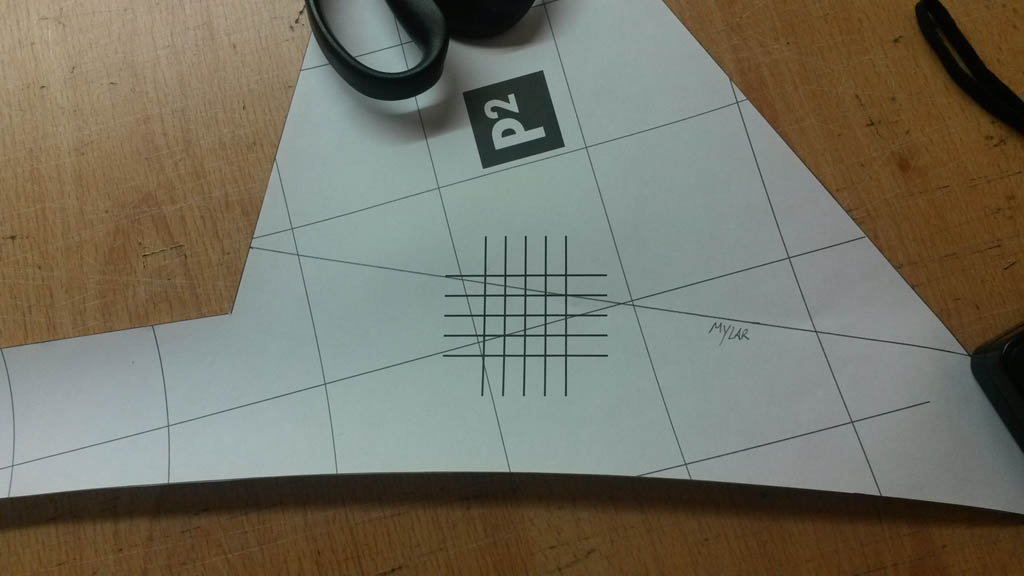
Here is what the printshop did for me: the templates on a big 80gr/m2 paper. I cut it out with simple (but sharp) scissors.
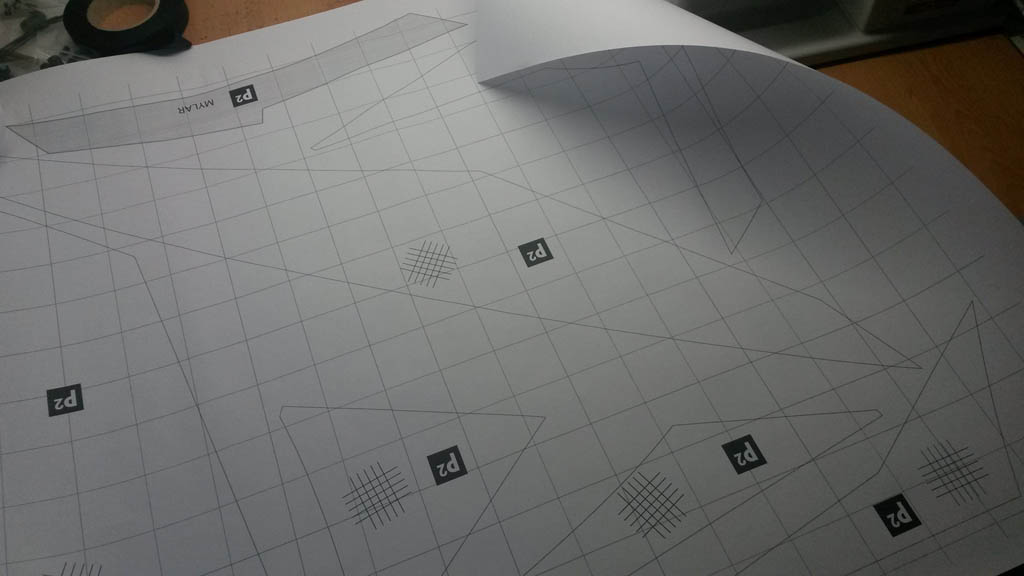
I did not cut the panel for the mylar (on previous picture at the top) out separately, but just marked it on the bigger panel.
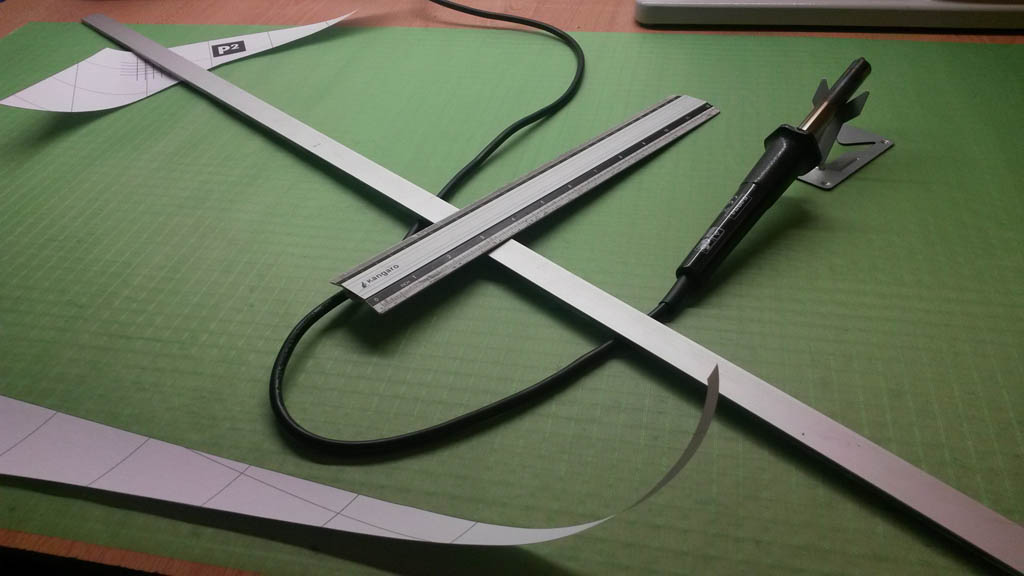
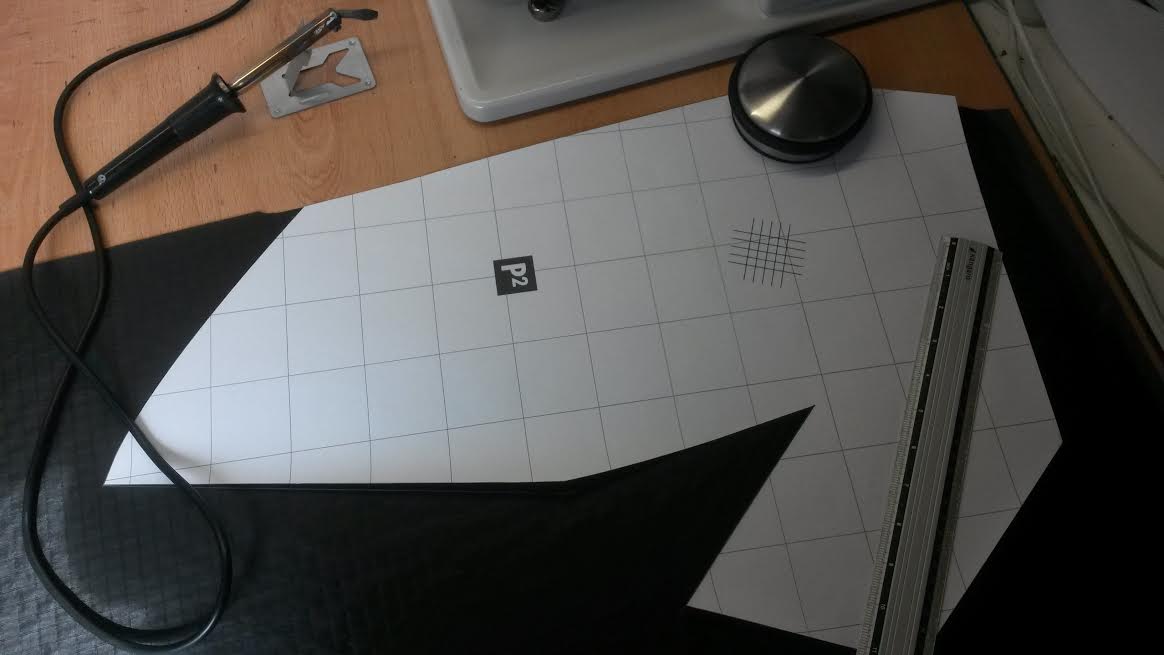
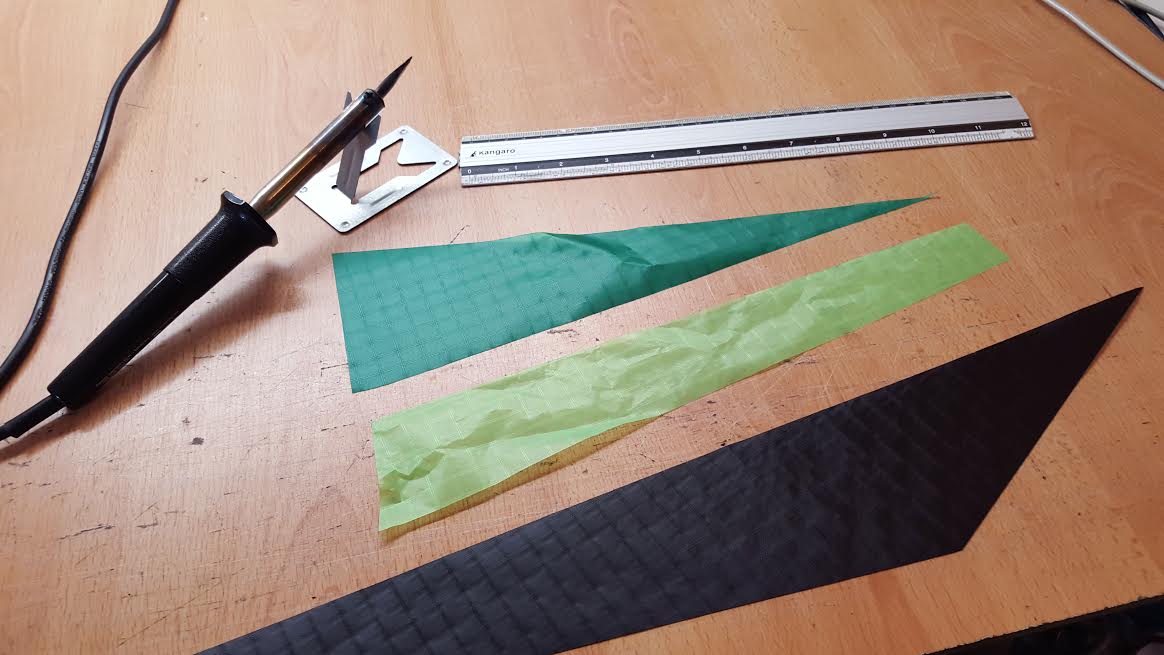
These are the tools I use for hotcutting the Icarex panels: big flat board, soldering iron, metal rulers. I just use the 80gr/m2 paper. The ruler as close to the edge as it can get and then with the very hot soldering iron. This works great, the paper won’t burn, only if you are way too slow.
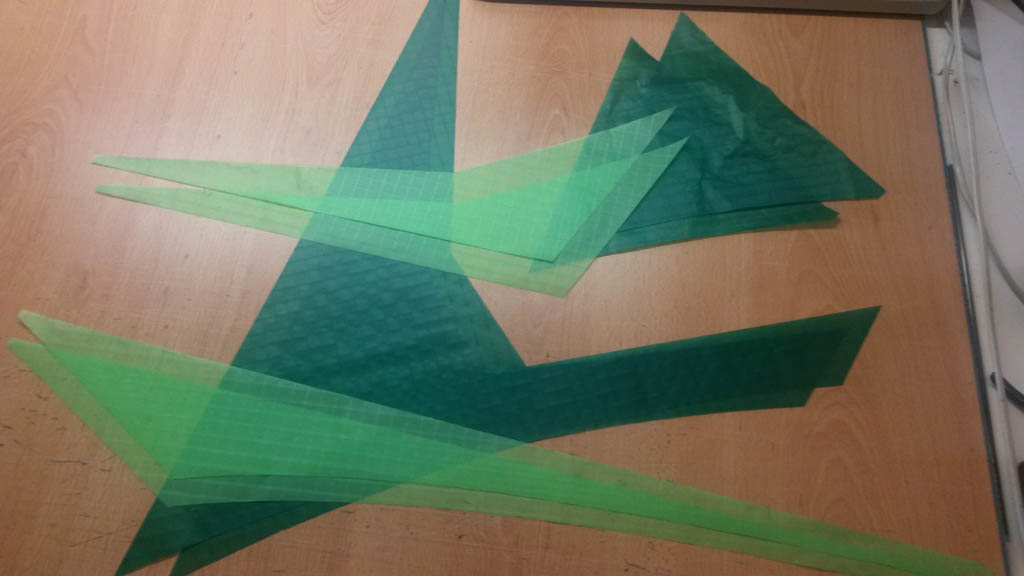
Tonight I only did the green panels. The blacks will follow.
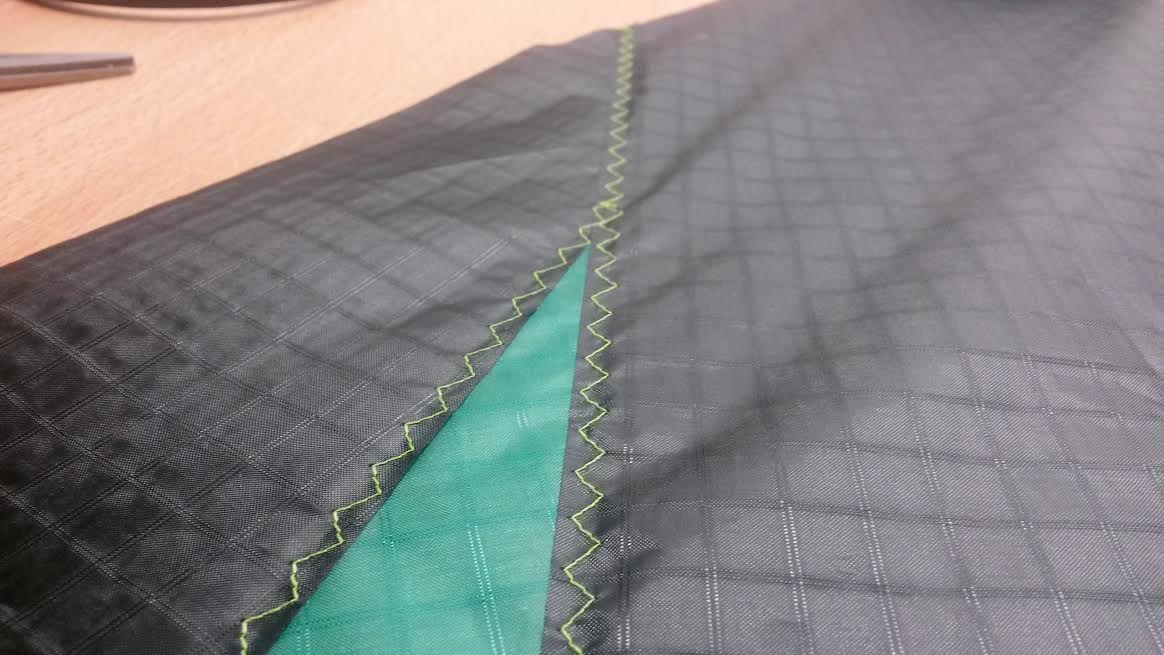
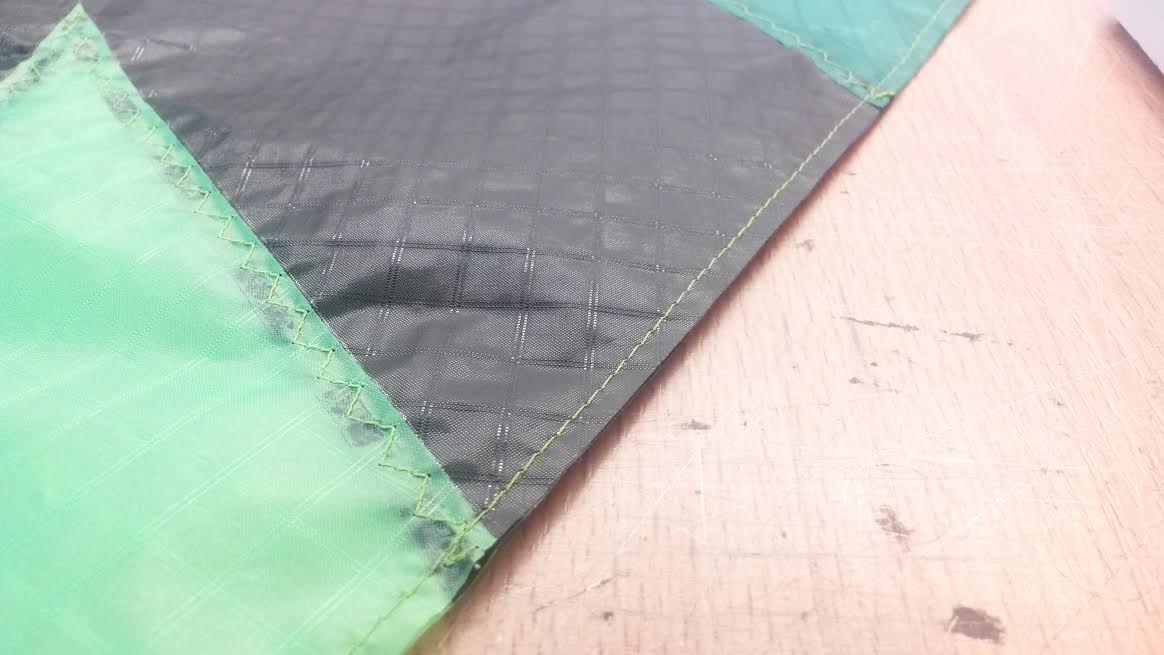
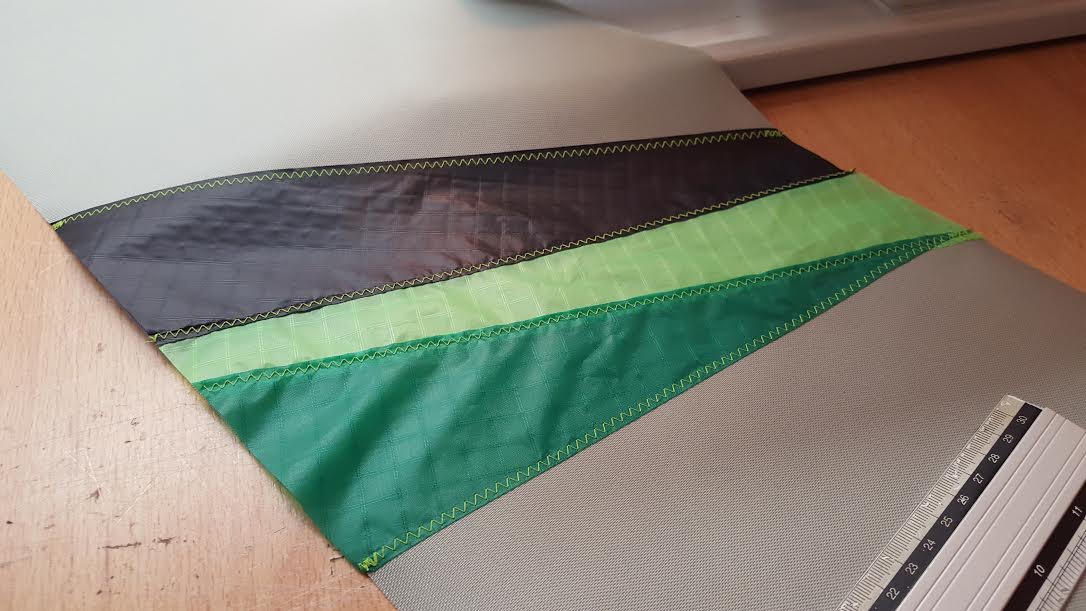
In my last 5 or 6 builds (this P3 is my 42th  ) I used a matching colored thread. In this P3 I will use green thread, most left on the picture below. I like the looks (but you can only see it from a small distance), but you have to be sure to make no (or very few) mistakes. Black thread on black Dacron hides your mistakes, White thread is always very visable.

Here is the black. As you can see I did not follow the prescribed direction of the weaving in the Icarex. This was because else it wouldn’t fit on my remaining black Icarex (the panels of the P3 are a bit offshape compared to other kites). If you win this kite and can feel this in the flying, just send it back and I’ll return your $10.
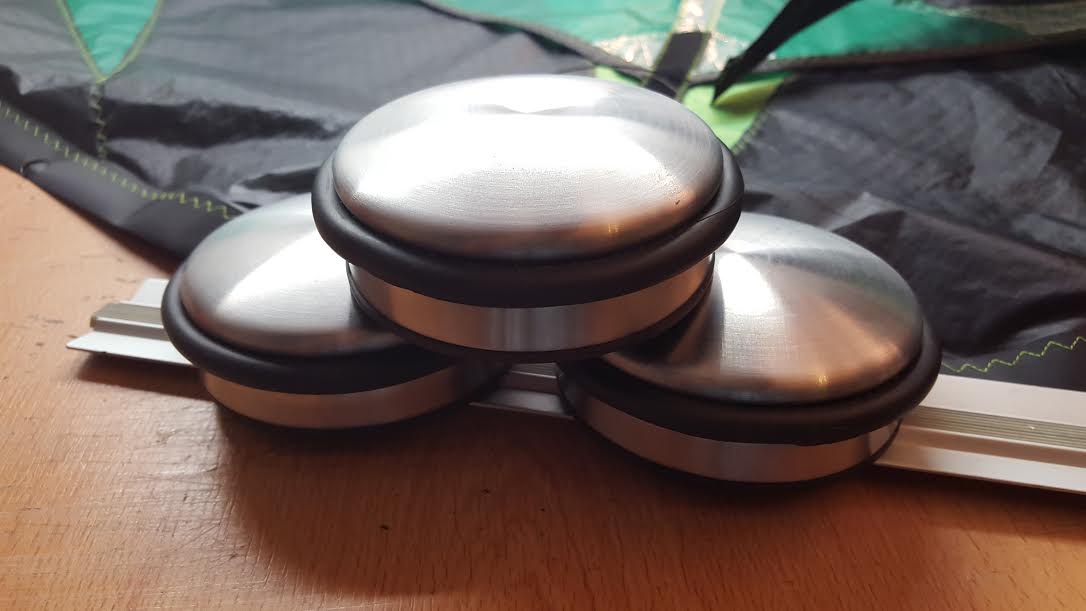
Also on this picture, a doorstopper. I’ve got three of these, they are 800grams a piece. I use them to avoid shifting of the Icarex. I’m also using them when I glue the panels together. Very usefull for other builders maybe.
Mylar (I always like this stuff).

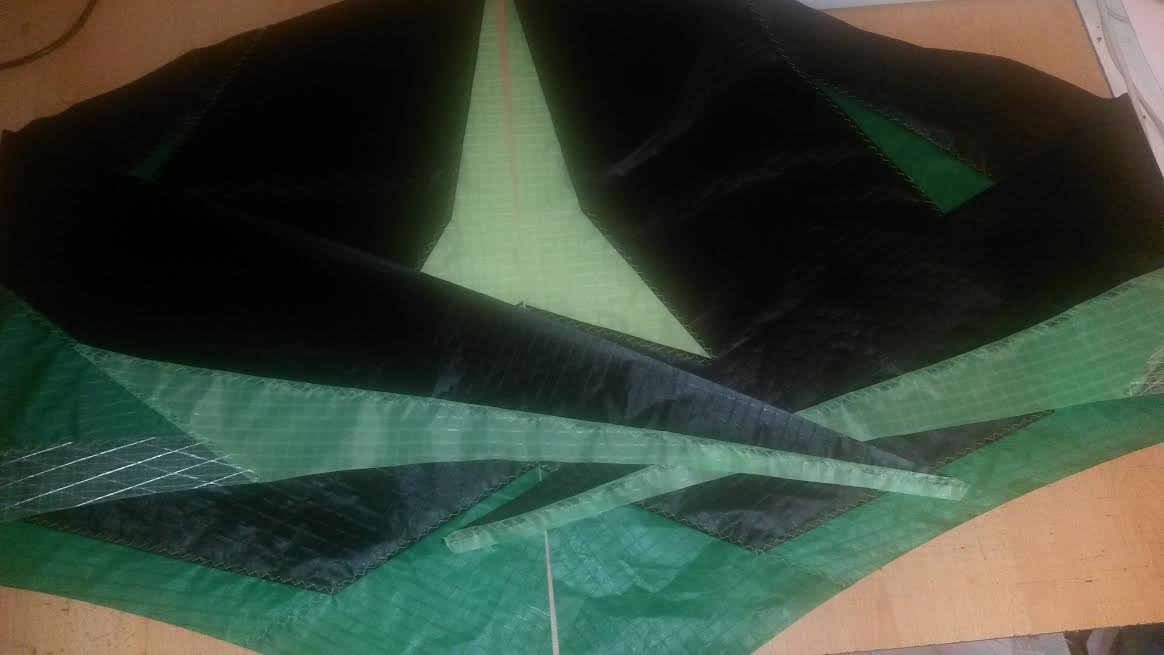
Glueing can start. All panels are doubled on this (lousy) picture. Sorry, I make all pictures with my phone in a room without much daylight. They should give an impression, it is not a photoshoot.

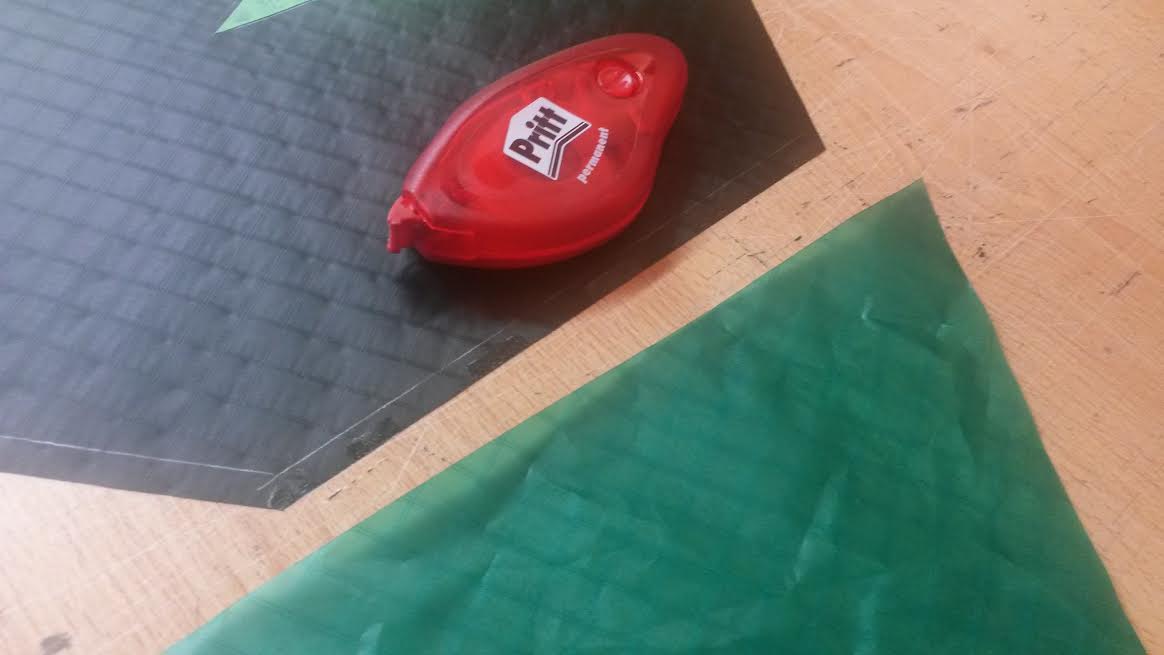
To attach the panels to eachother I always use a Pritt-roller. There are other brands with this type of glue-stick, but I tried some and came back to Pritt. It makes a gluestrip of a few mm wide, exactly what we need. I do not tape the entire seams, just a bit less than half of it. You can see it on this picture if you look closely. And very important, the needle of the sewing machine does not pick up the glue!
Because I do not have the big blueprint printed I made a line with a pencil to help me align the panels.
Both halfs are glued right now. The mylar is also taped on the back of the kite (do not forget this!).

I did not want to continue this evening. So sewing will begin next time (do not count on tomorrow).
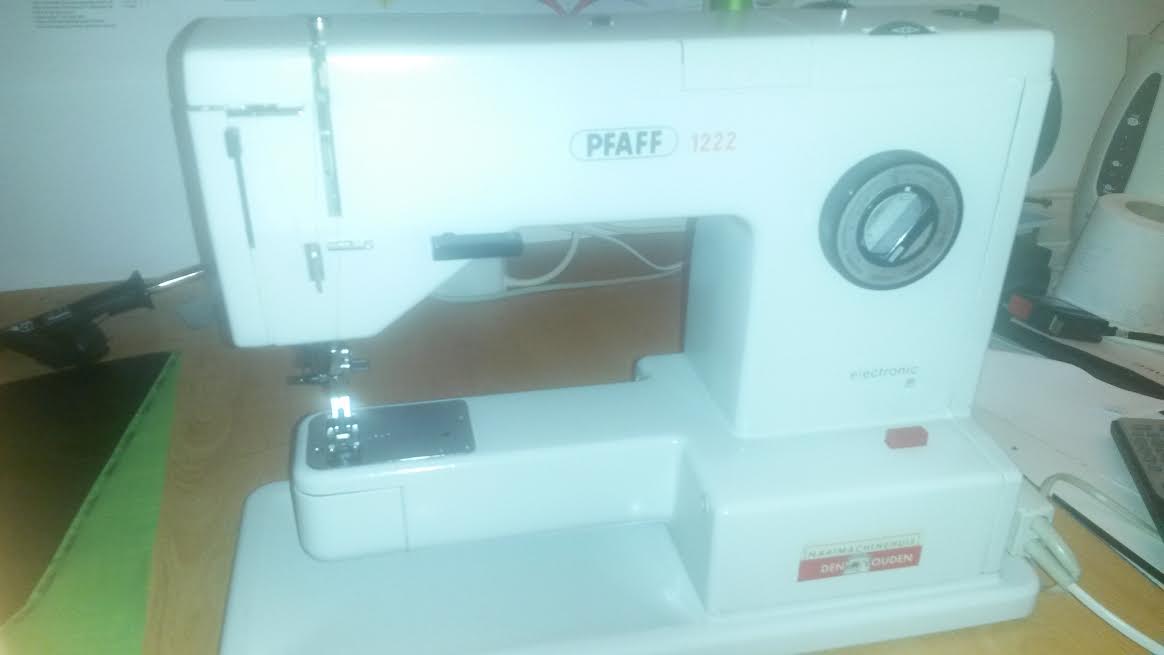
This is my sewingmachine. I bought it (secondhand) in novembre 2013, this P3 is the 18th kite I sew with this machine. This Pfaff has the famous double feed: the machine grabs the fabric on both sides (more conventional machines only do this at the underside) and pull it through the machine. No slipping and a VERY consistent stitch.
I said “do not count on tomorrow”, but I had some time to sew the panels together. I also promised you the darkgreen thread… I choose for the lighter green to let it more pop. I do not regret it, what do you think?
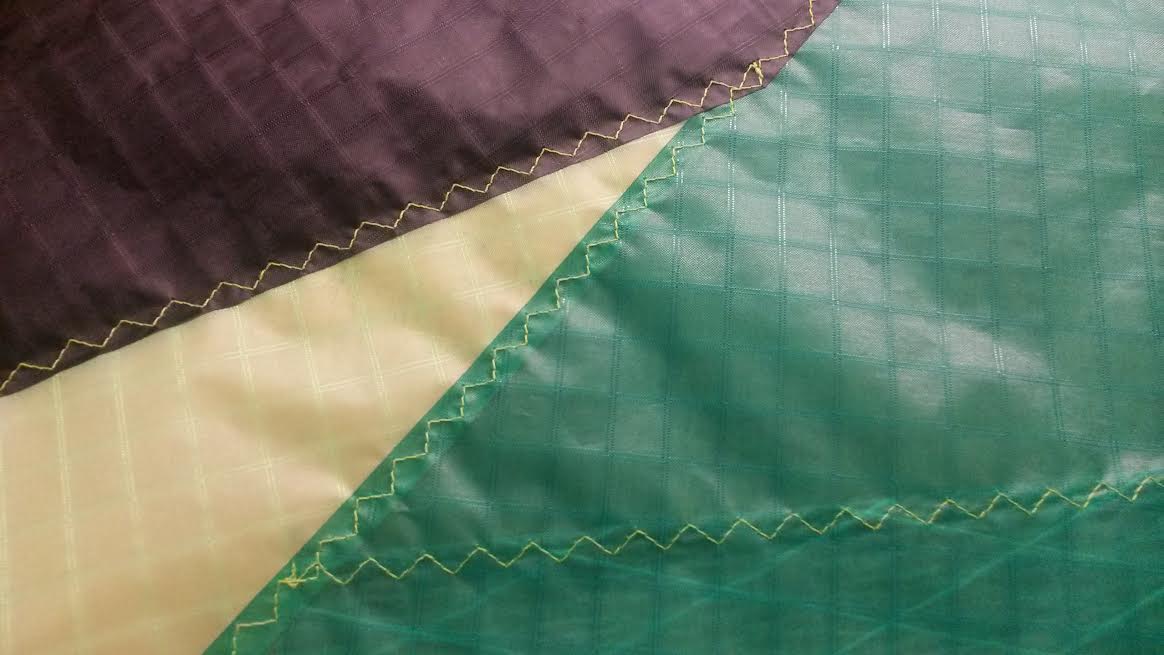
I did both sides. Next time I will attach them to eachother.
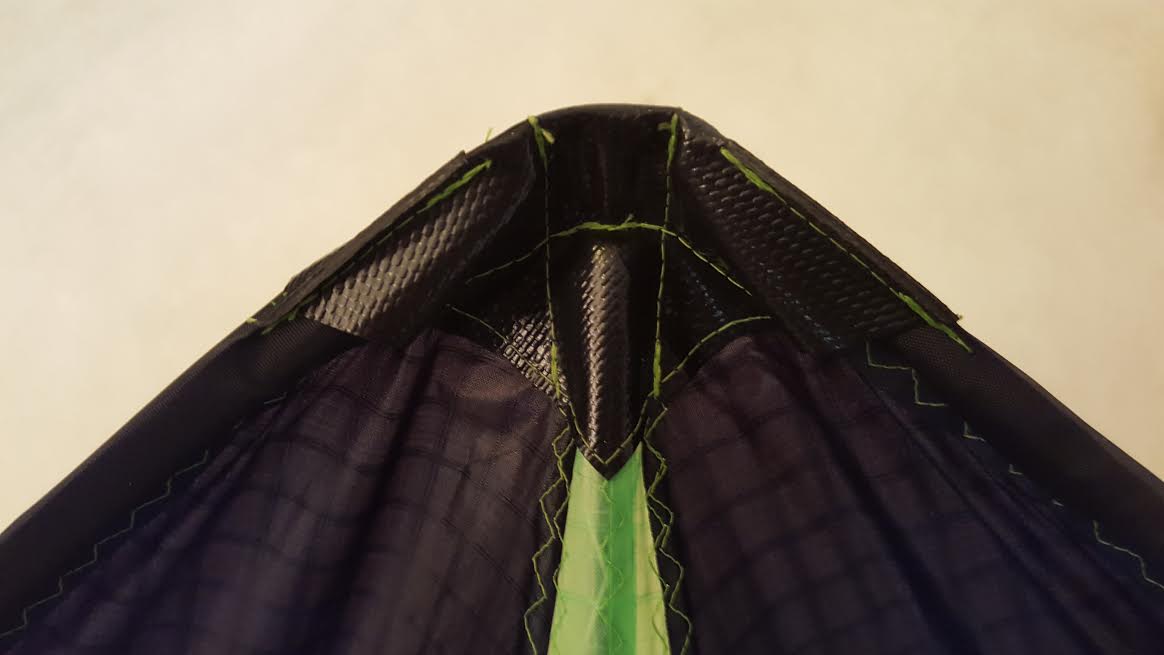
“Nobody” uses a flat-seam today. In some cases I do the middle seam as a flat-seam. Let me explain why.
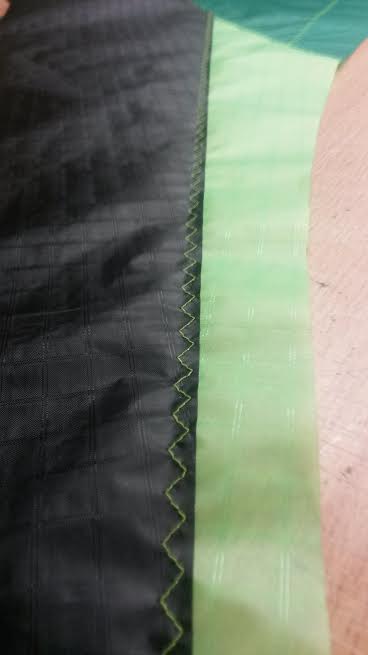
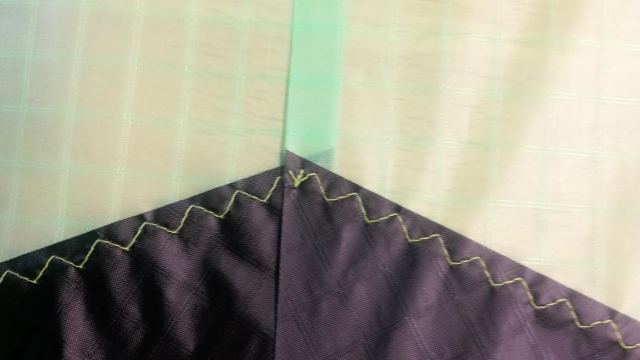
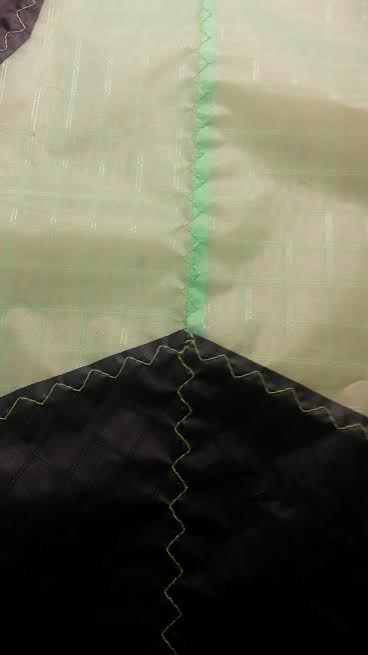
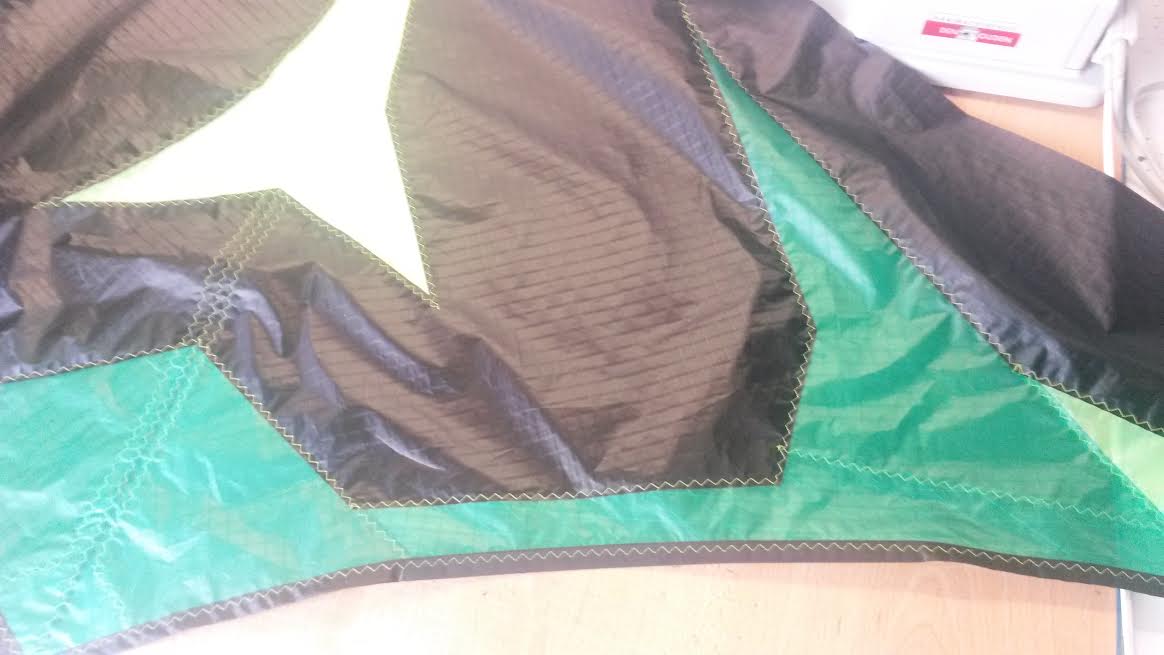
In the picture below you can see how it will look with the modern way of seams (just a bit overlap and a three-step-zigzag-stitch). I don’t like the two black points. Yes, I can cut them, but I prefer the flat-seam in these cases. (Far from all open source kites have a seam that ends in the centre seam without being covered later by the upperspreaderpatch or the dacron on the tail and/or centrepiece.)
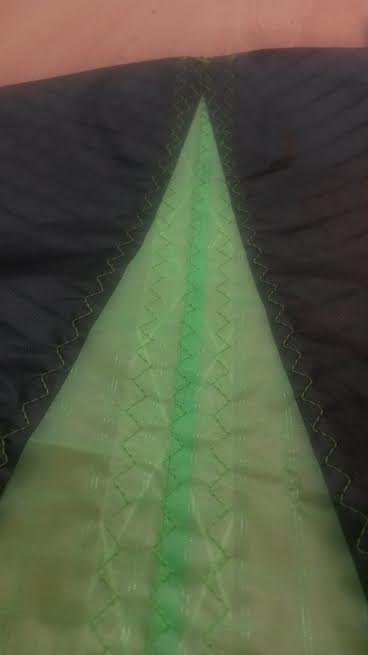
Now two two halfes on top of aechother and a straight stitch from top to bottom.
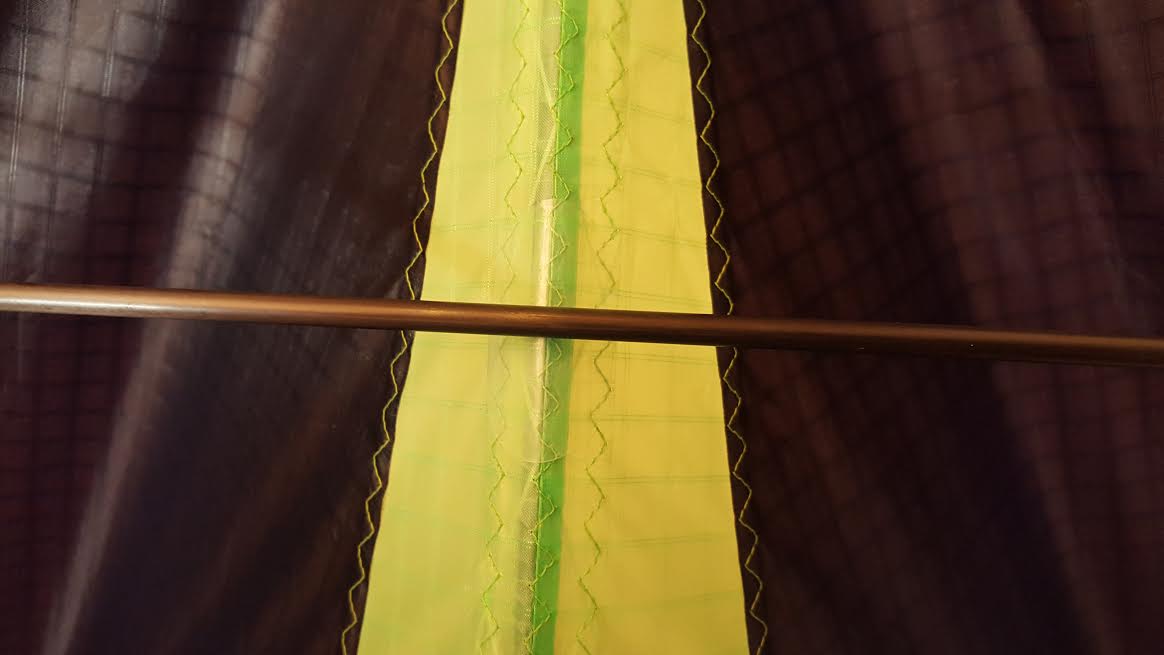
Now fold the sail open and stitch it flat to the sail. I do not like an extra seam next to the centre-seam, so I just used a three-step-zigzag-stitch through the middle. (This will be covered later by a mylar strip.)
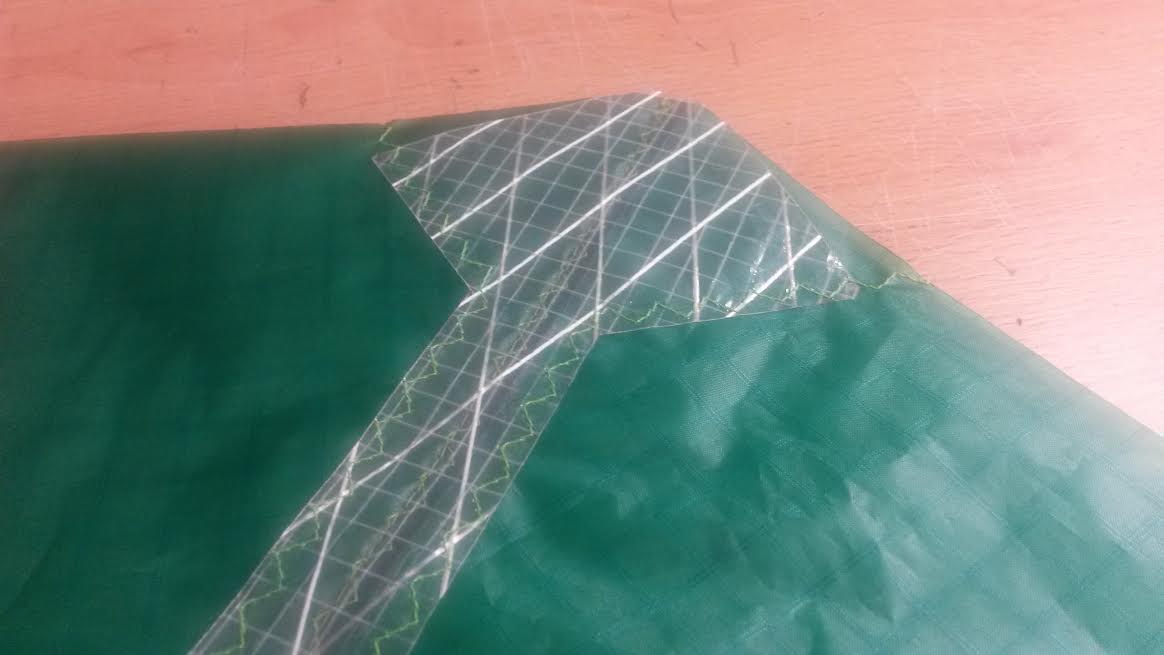
I cut a mylar strip 2.5cm wide. It protects the spine, also the sail won’t stretch along the spine. I don’t think this part of the build is necessary, I almost ever skip this strip. But for a kite that can handle strong winds it makes sense.
You can see my scrappiece of mylar was just a bit too short. No problem, it will be hidden under the spinnaker along the trailing edge tomorrow.
Front of the kite.
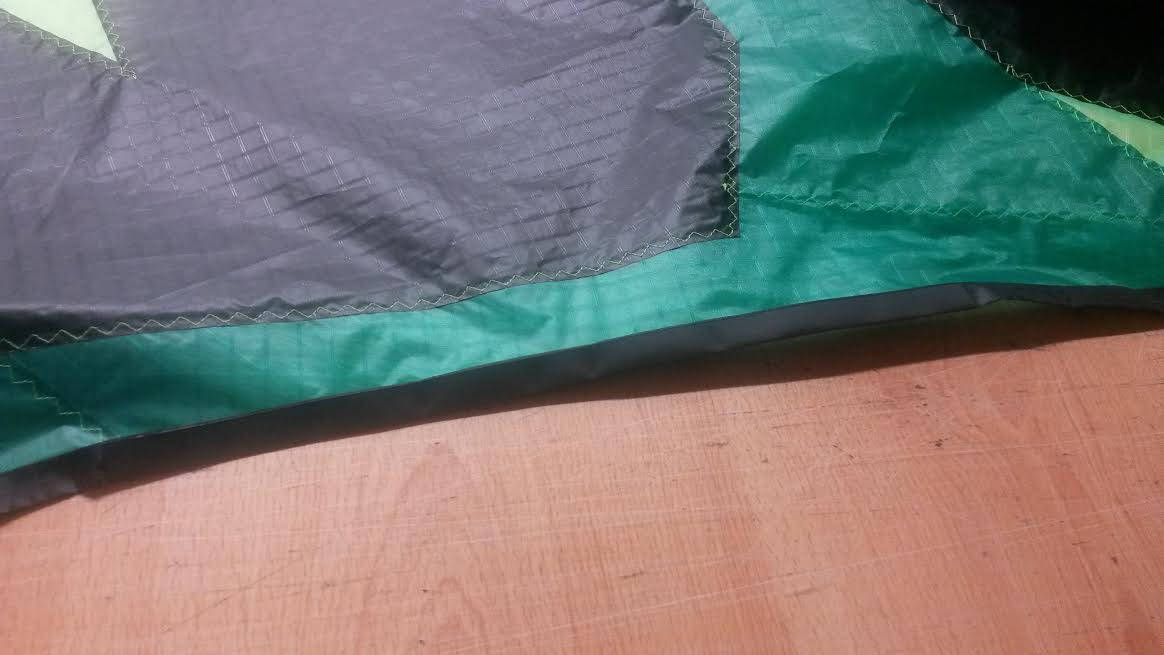
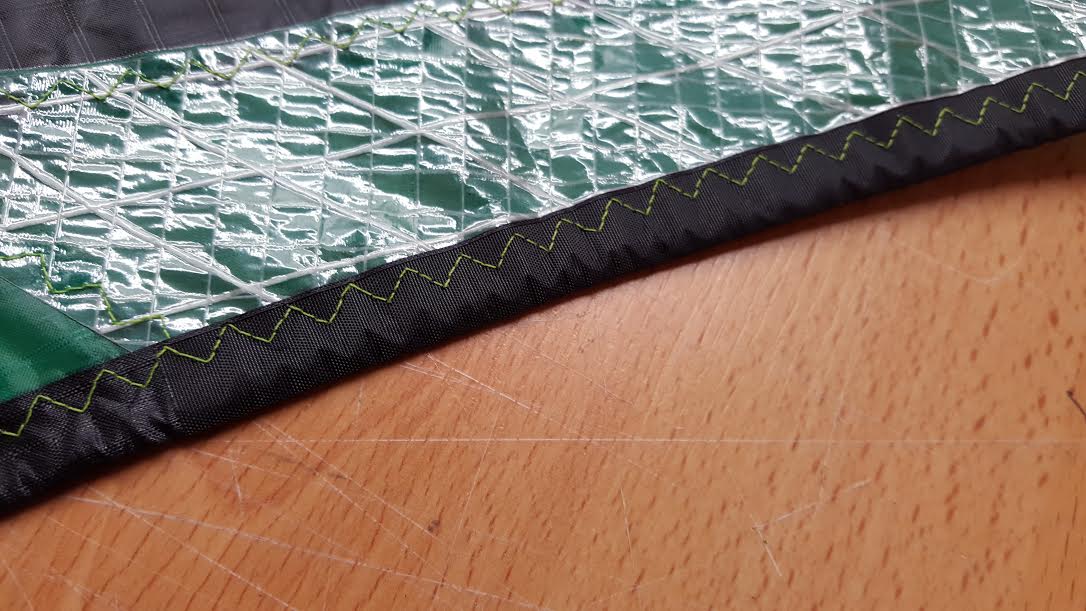
Trailing edge. I fold a 2.5cm wide spinnakerstrip and glue it to the edge, using the same glueroller as before.
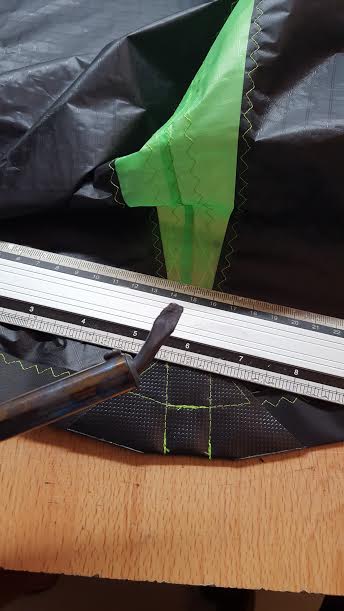
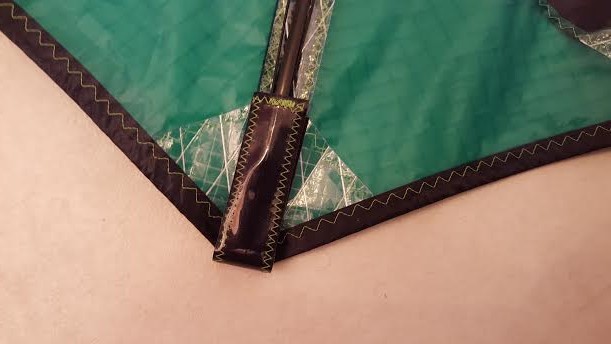
I also (hot)cut a strips of 2.5cm wide and about 30cm long Dacron. This is to reinforce the area around the standoff. If you look carefully, you can see it on this picture.
I stitch it, using the same three-step-zigzag.

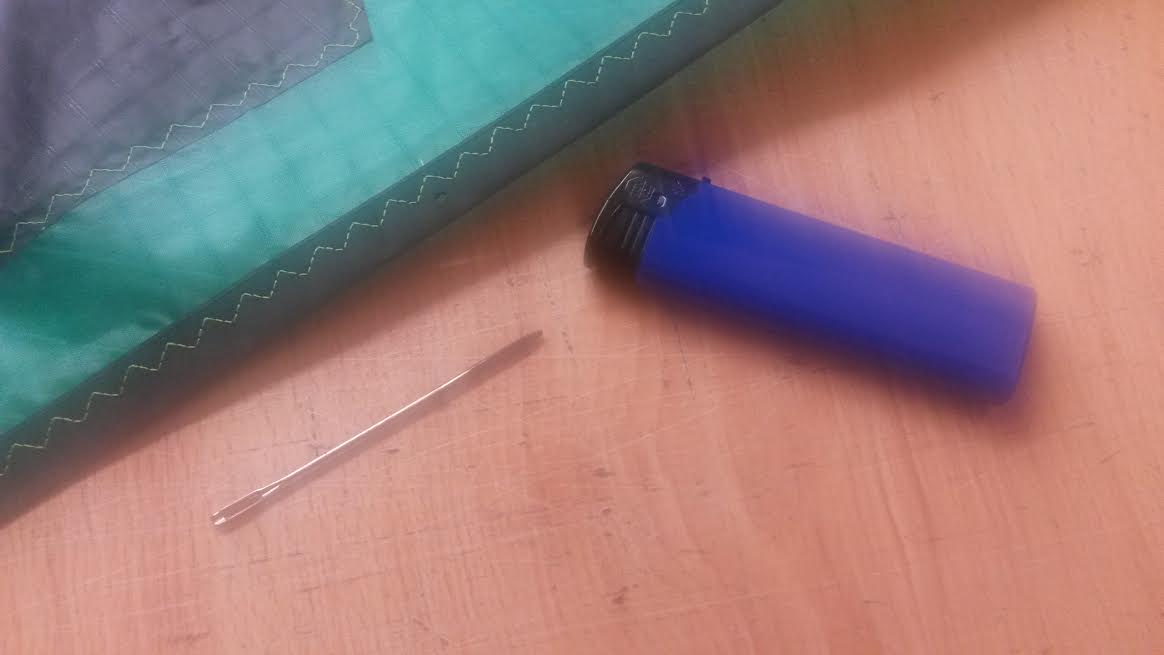
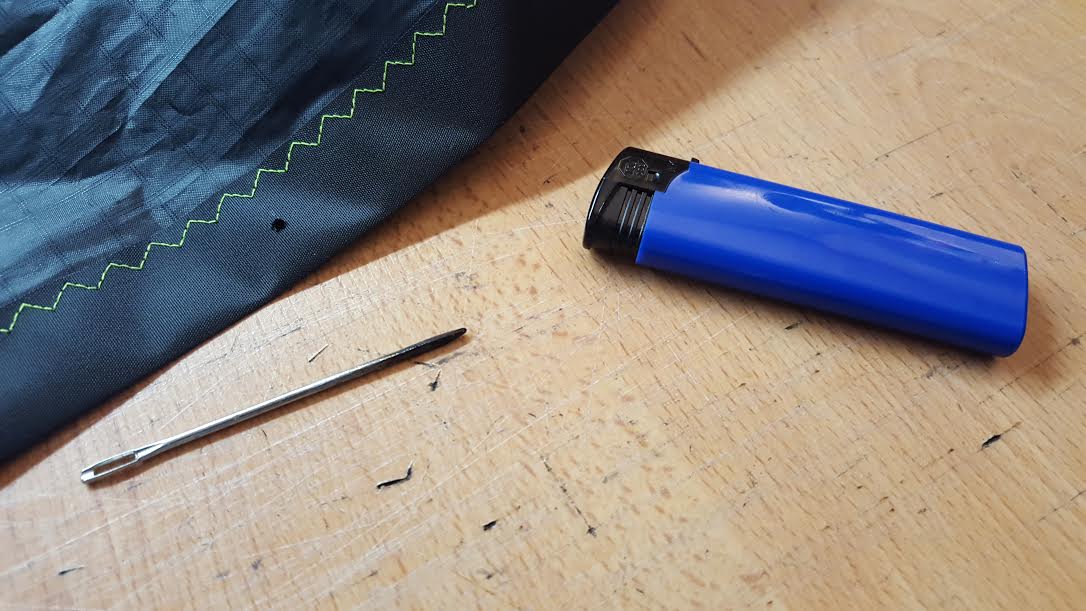
Later on, I will use a standoffconnector with a small screw, so only a small hole is needed. I heat up a big needle with a lighter. When it is hot enough, just push it through the sail (I marked the exact place with a pencil). You can see the hole on this picture.
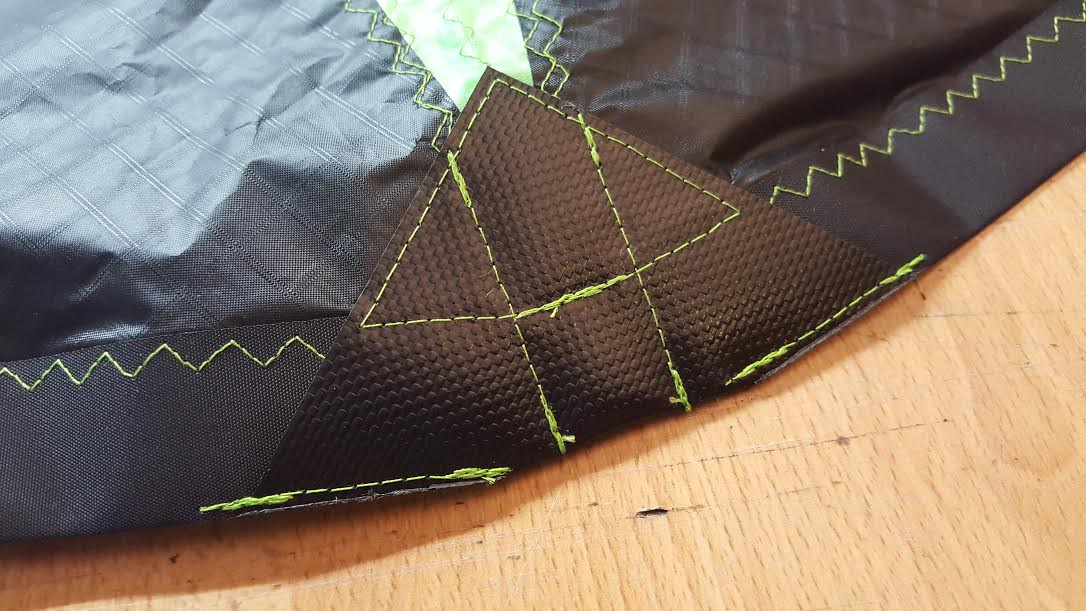
Laminated Dacron, nice stuff. I used it on this build as reinforment between centrecross and tail. The tail is with velcro. For these parts of the build (and almost always with the mylar around the standoffs) I use a simple zigzag-stitch. With this stitch it is a bit easier in the corners, bit more room for planning and make it look nice. (Especially with notable colored thread.)

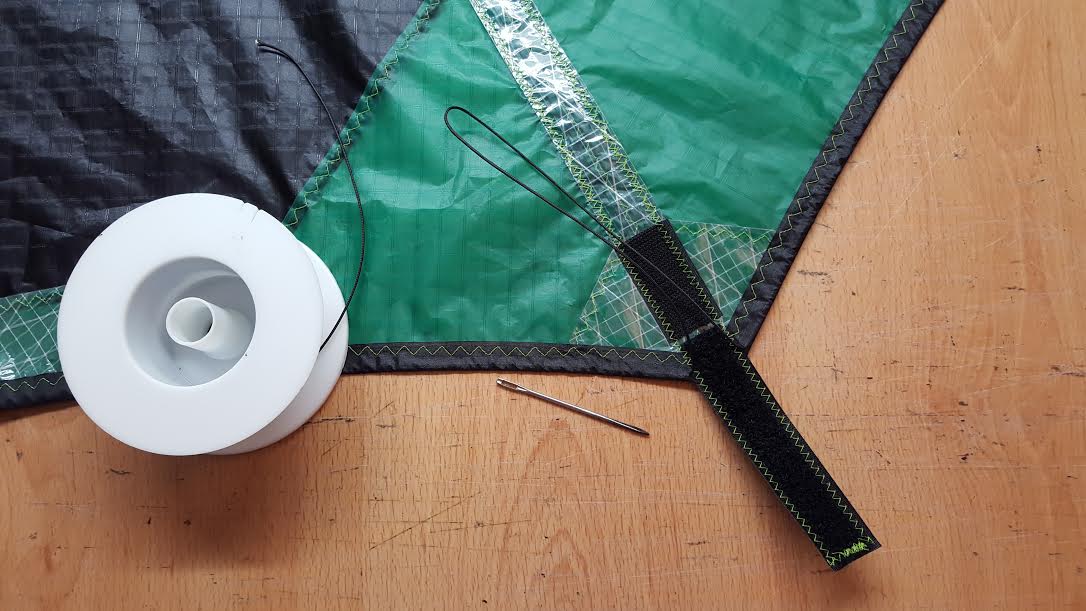
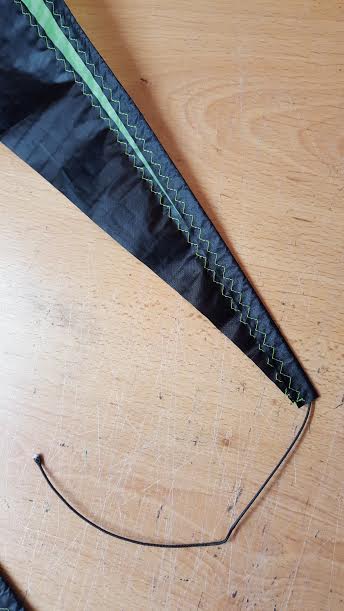
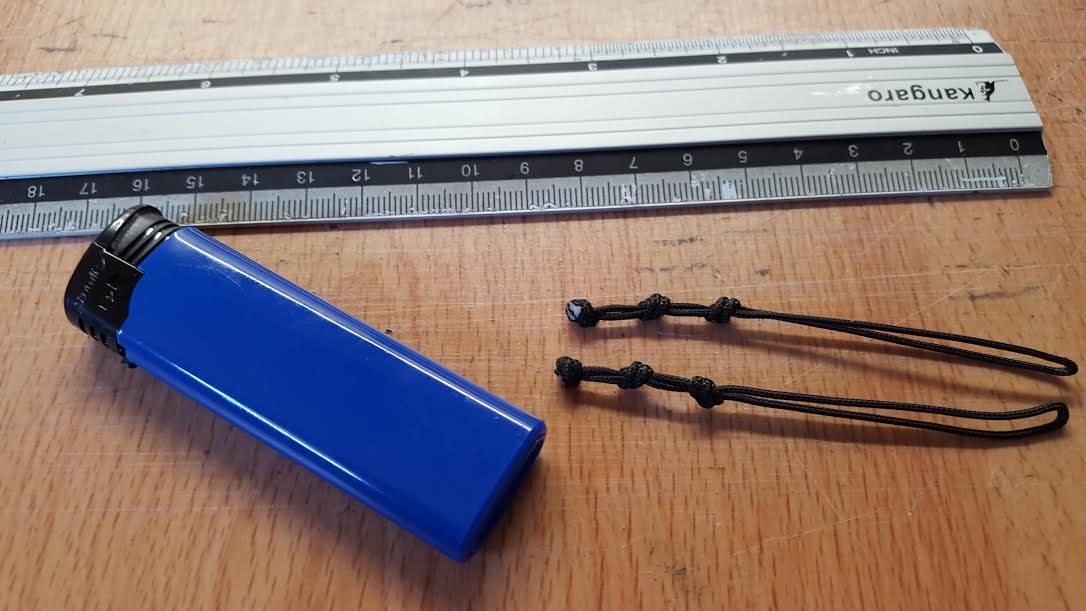
About the leechline, as said I use a big needle (second use, but it will be back for another purpuse later). For the line itself you can use old flyinglines, but I use simple bridleline. It is a bit thicker and at the tip I will make a loop to tension the leading edge. The needle goes through the trailing edge, can be a bit frustrating job. On this P3 the leechline is one piece. It will be connected with the centrecross with a piece of bungeecord.
The Dacron bit it the hardest part. Wrinkle, wrinkle.
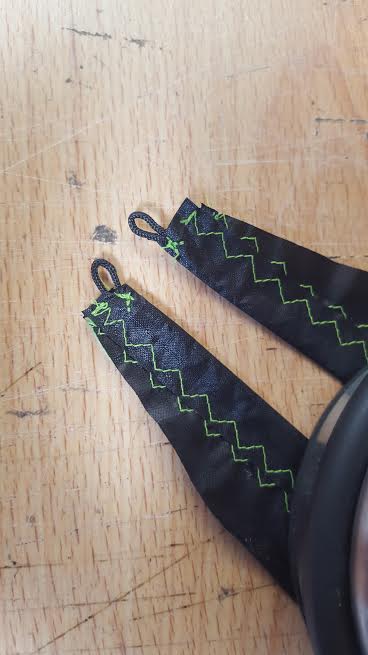
At the tip, make sure there is enough rope to do something with it. I’ll make loops for the tensioning, but also possible to wrap it around the tip (do not use bridleline in this case).
To fix the leechline at the tip I make a knot with a small loop and stitch it in a cross with a three-step-zigzag but the transport on 0.
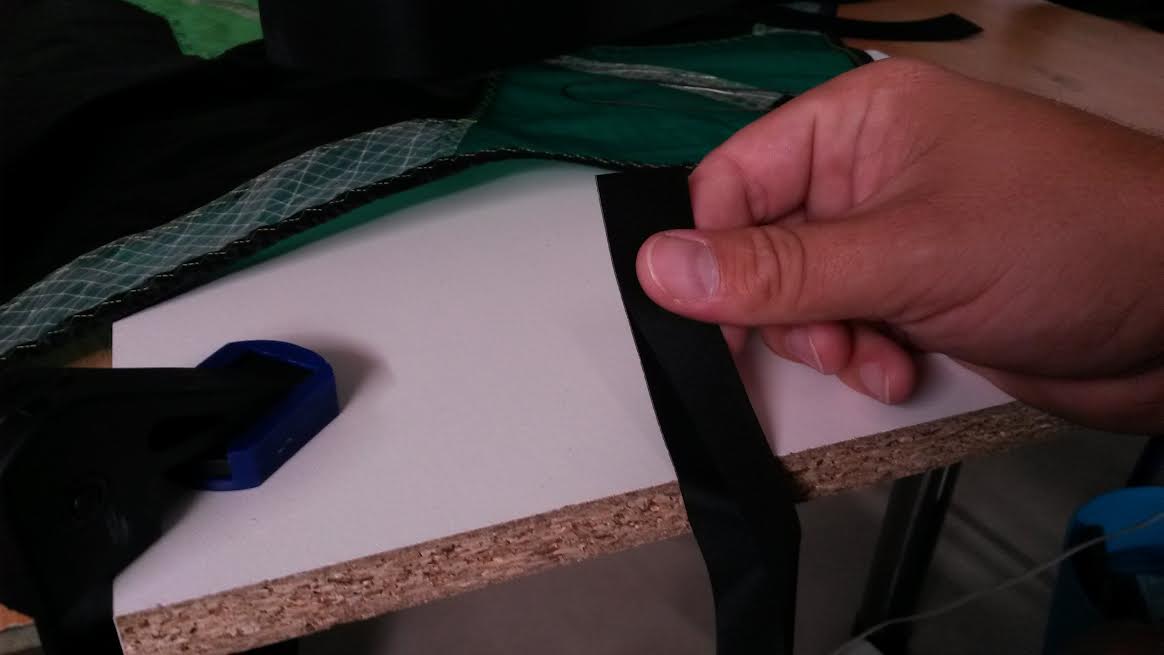
To fold the Dacron for the leading edge I use a board of wood with a sharp edge. (Yes, another board is lying on my table, but I used that too much, the edge is not sharp anymore.)
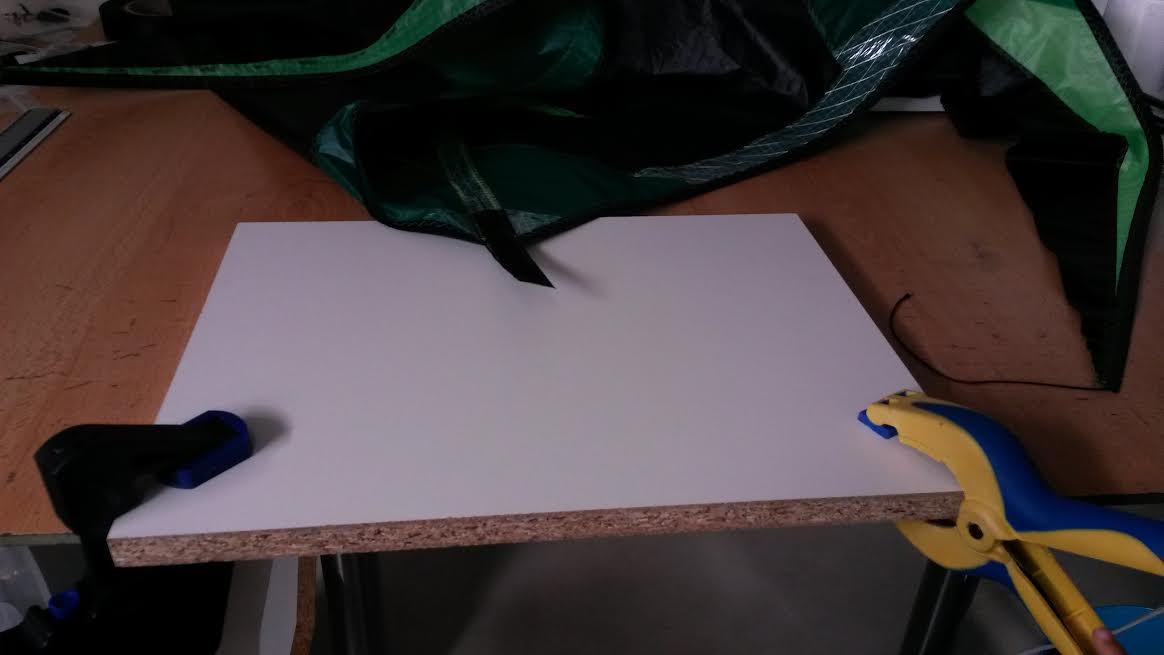
I rub it along the edge, 10 to 15cm each time. Hold tight.
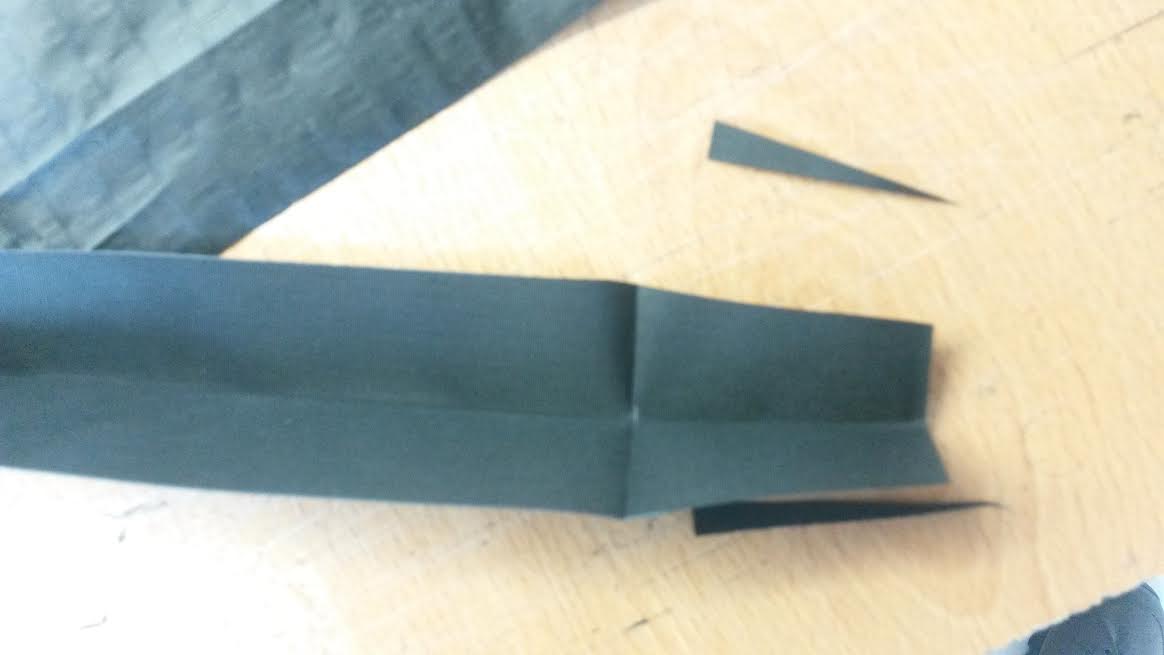
Now, at the end of each folded strip I fold 5cm back and cut the corners. This will look much better, just try it to see why. (Wow, this picture is from my old phone…)
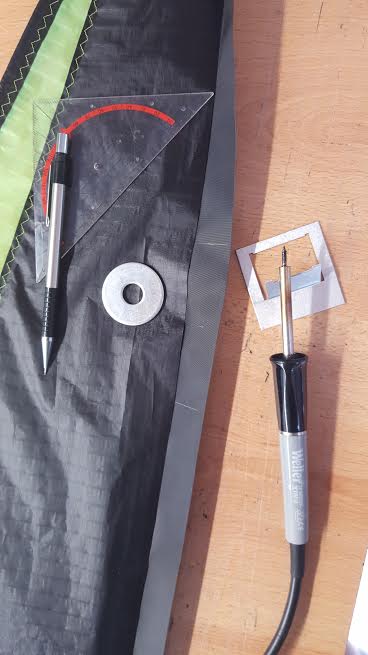
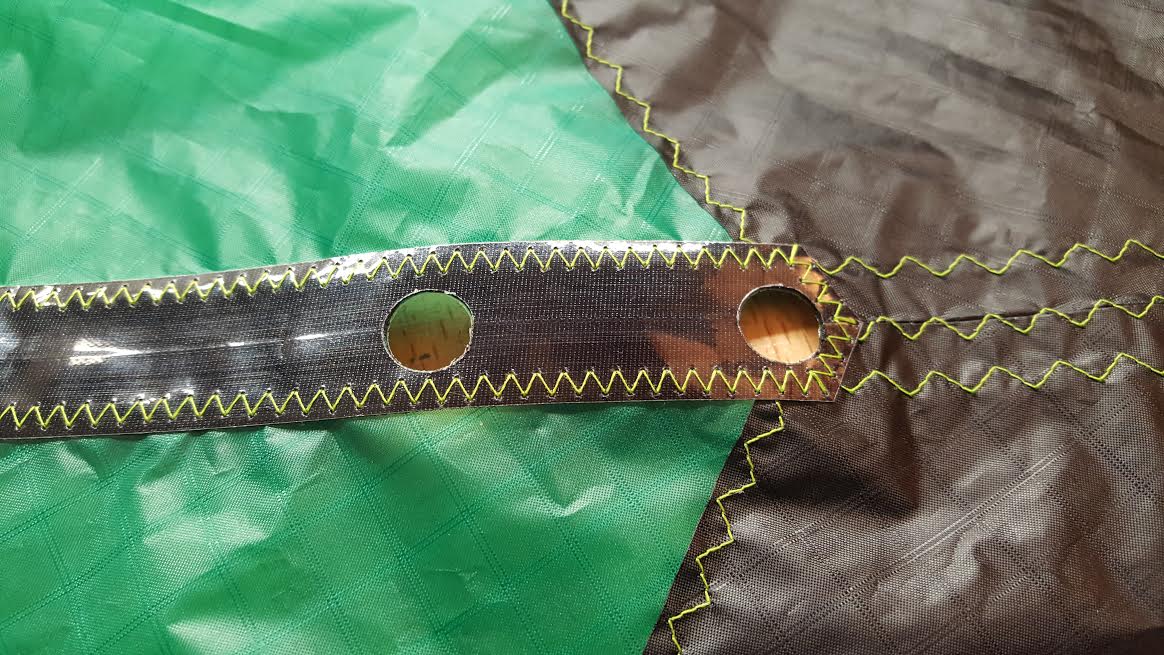
I glue the Dacron to the back of the sail (I said back, do not glue it to the front, I once made a kite with cutouts for the connectors on the back of the kite, at one side). Now mark the places for the cutouts and go look for a washer (metal ring, I tried this with cardboard, but doesn’t work at all) and a soldering iron with a sharp tip. I like these round cutouts and it looks fantastic in a framed kite.
Finished leading edge.
Sewing remaining: nose, upperspreaderpatch and bag.
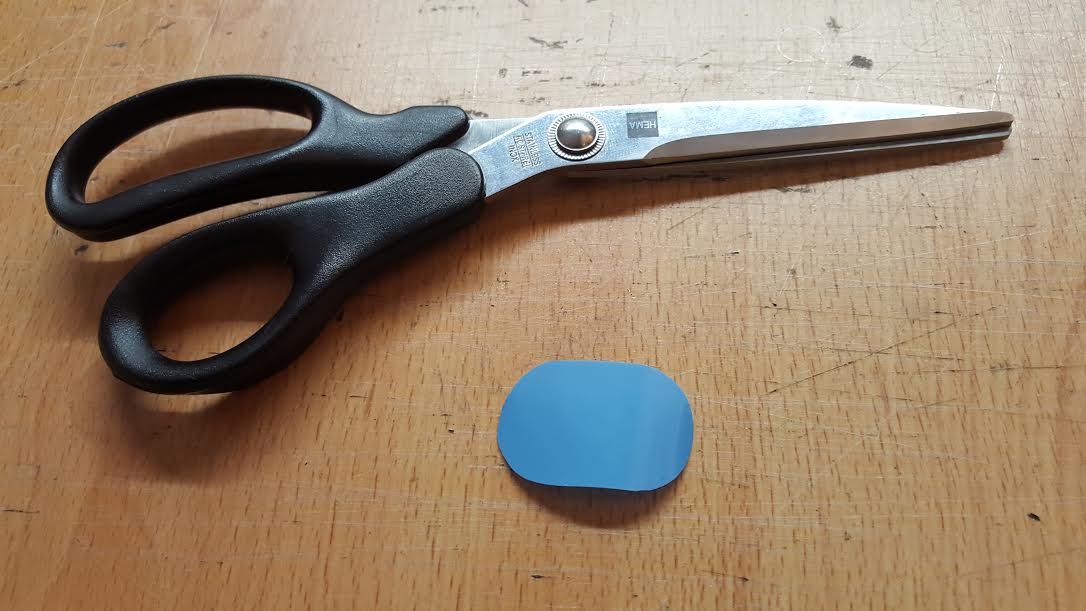
Nose. I use bisonyl, very nice stuff and VERY durable. It is used as cover material for lorries, boats, etc. Cut a square (between 8x8cm and 11x11cm). Now mark the middle and add pencilstripes for the sewing, 1cm from the middle here (the spine is 6mm, if you use a Skyshark spine for another kite make this 1.2cm). Now cut a small triangle from one of the corners (this will be the back of the kite, so you can insert the spine).

I glue the nose to the kite and add some pressure to it, to set the fold.
Do some sewing and use a soldering iron and a metal ruler to cut the excess. The closer to the Dacron of the leading edge, the better. But do not touch the Dacron, there will be a hole at the fold on a nasty spot. (You have to do the nosejob all over, with a bigger square.)
The plans call for a Kitehouse-nose, as we call it in Europe. The spine does not reach the top of the nose, but a bit lower. When the kite is finished, the leading edges will fold over the spine at the nose.
Done.
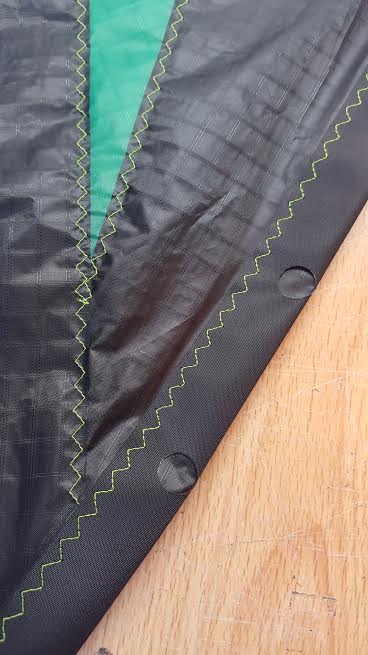
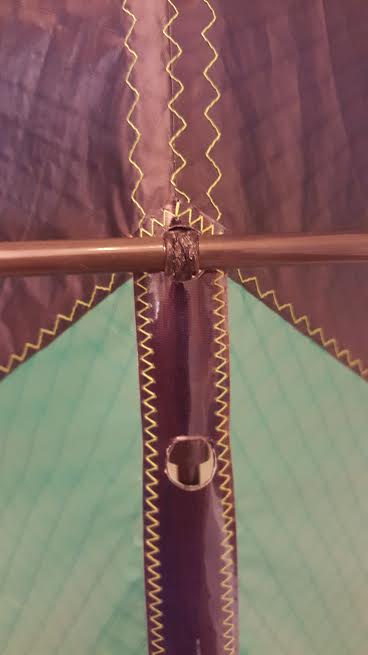
Now some holes: for the yoyostoppers (hey, there is that needle again, it will be back).
And for the centrecross, and bridle (washer metal ring again, I used this for the first time at the centrecross):
Sail is ready!
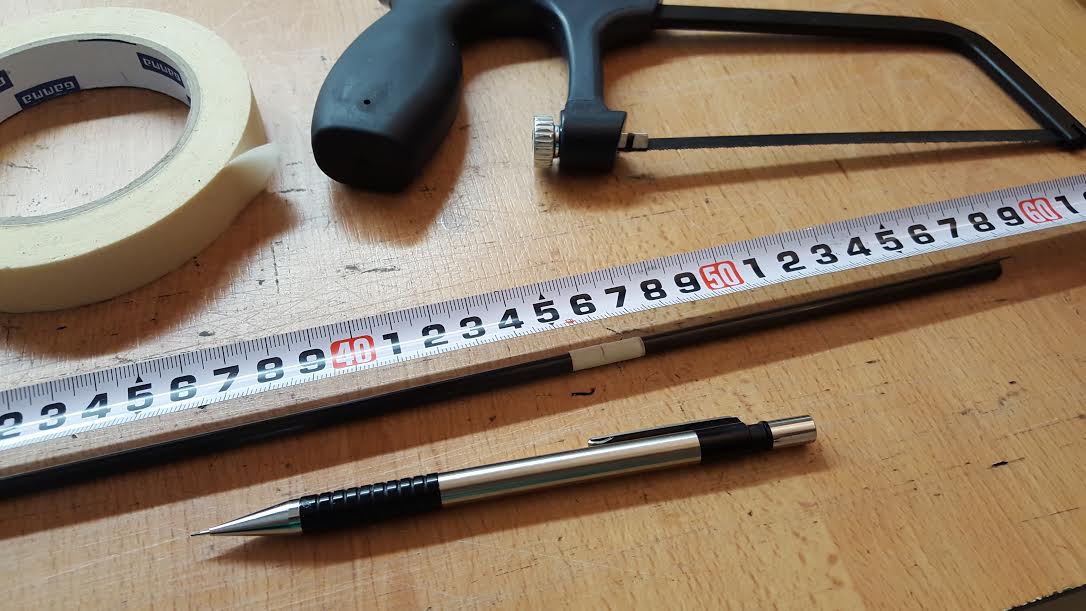
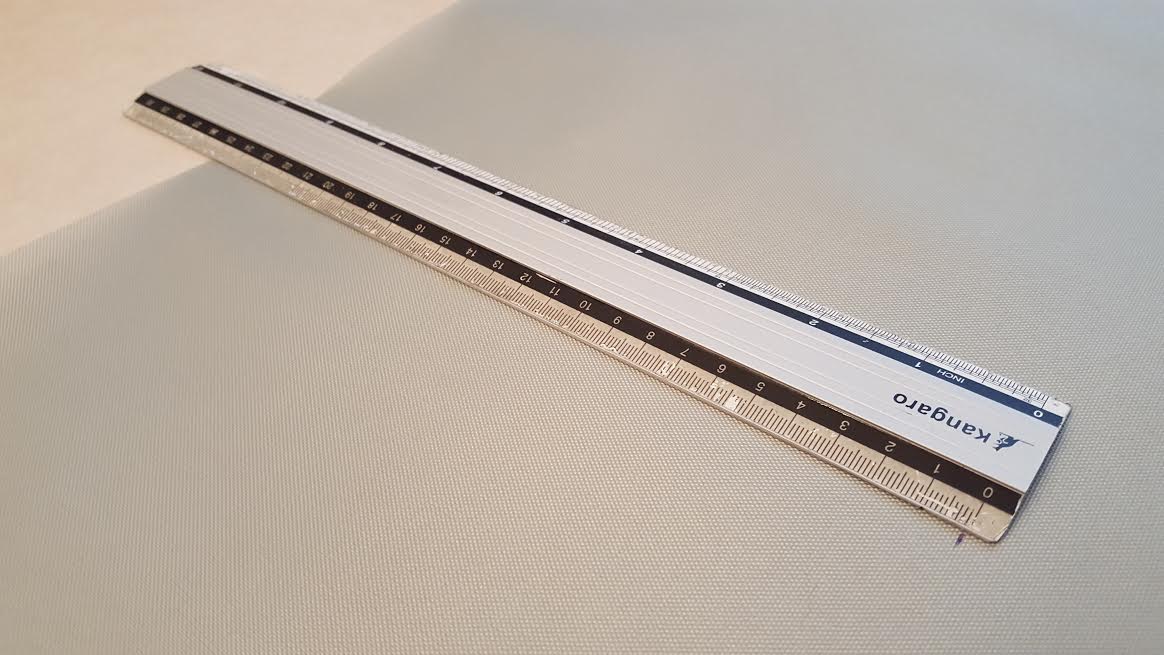
Sawing the spreaders. I use painter’s tape (low adhesive, paper-ish) and mark the exact length with a pencil. Use a sharp hacksaw. Rotate the tube as you saw.
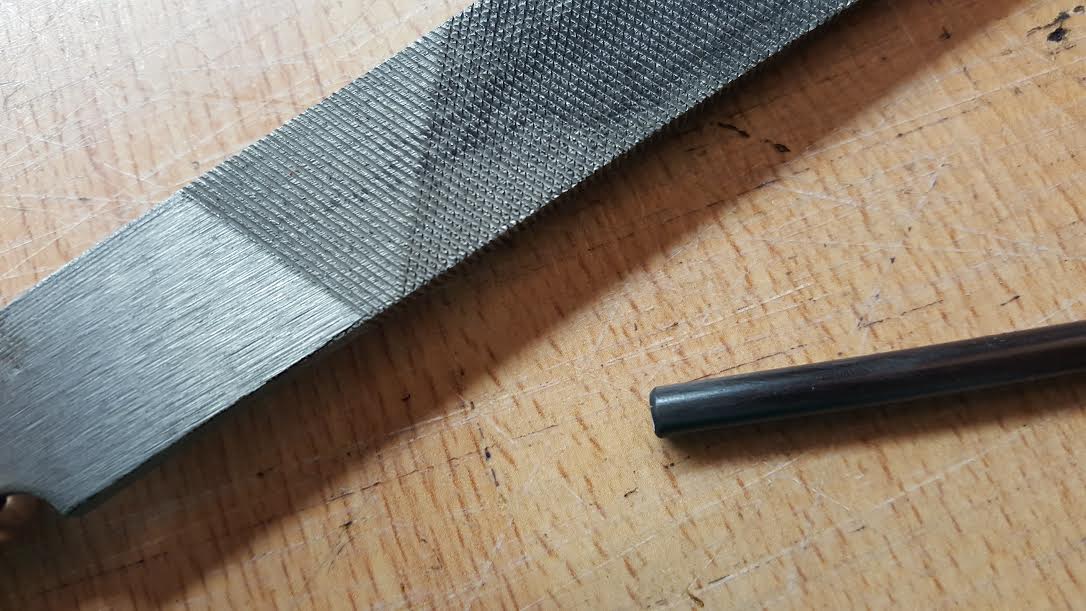
In order to get rid of the sharp edges, I use a file in an angle about 45 degrees. This looks better, is better for your connectors and saves your sail when packing or unpacking the kite.
Now to the leading edges. (You can also do the spine first, I usually do that, don’t know why I started with the leading edges today…)
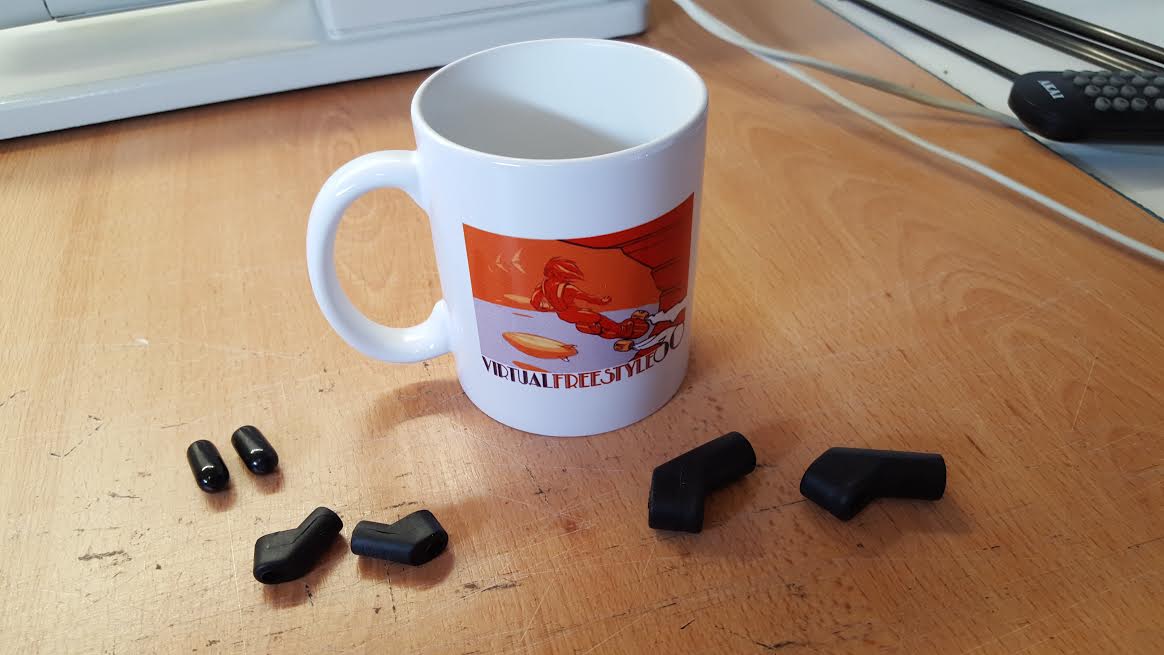
You need a mug, a kitemug preferably. I put boiling water in it and the Apa’s and other fittings from soft rubber.
The leading edge of the P3 is one piece, slide it in from the tip (be sure to put the spar on top of the Icarex inside the Dacron, you can also slide the spar in from the lowest hole at the lowerspreader holes). Because the fittings were in hot water they are a bit loose. If they are still too tight, add a bit of soapsuds.
If the connectors are in the right place, add stopperclips. I left some space for the outerleg of the bridle, as you can see.

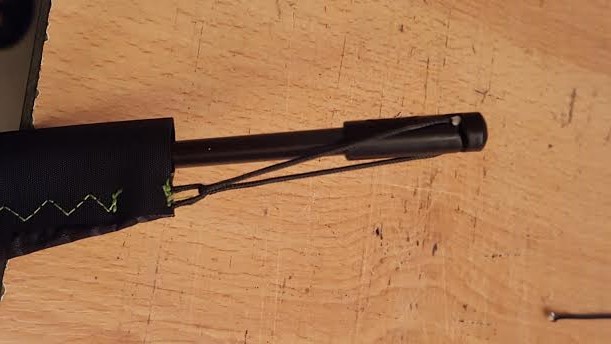
At the tip use the loop of the leechline to tension the leading edge. I always hide the knot inside the splitnock.
Saw the standoffs. Only two in total for the P3, the P2 has got four. Also, get rid of the sharp edges.

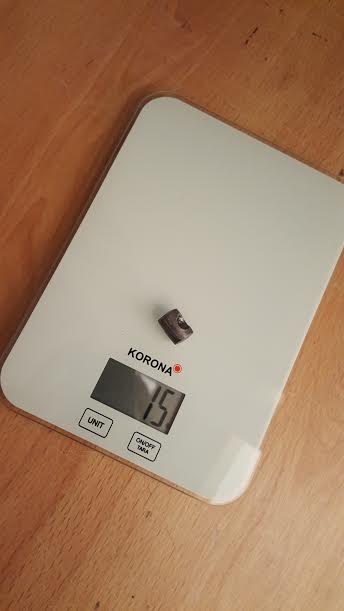
As a weight I’m using this piece. It was added to a kite I once bought (Lumokites). I think it is zinc.
The scale is always on the attic, by the way. My wife gave it to me as a present once, because the one from the kitchen was always away…
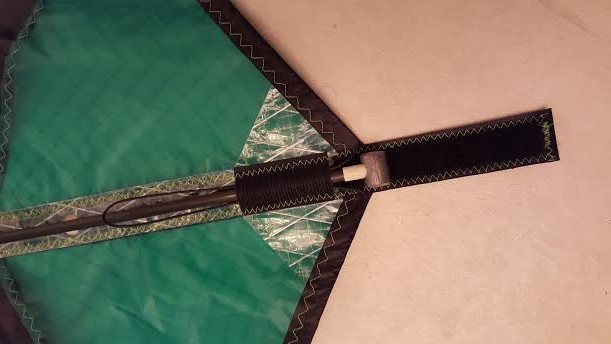
The leechline goes through the tunnel of velcro and I cut the spine to the right length. I wrapped some tape around the spine at the bottom to protect it from the metal.
And now with the velcro closed.
Next is the centrecross.
Oops. The bridle goes 5 cm below the Apa-connector. There is no need for some space between the Apa and C-clip. I took them off and reglued them.

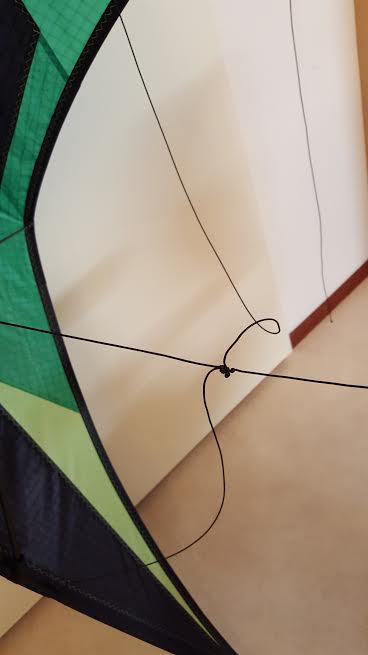
The centrecross is from bridleline, I did it exactly like PAW in this video: https://www.youtube.com/watch?feature=player_embedded&v=cSwbFOuJMbI. I like it. Also, when you break a spreader, it is always a female one, so no problems with removing and/or adding a ferrule.
Now the leechline can be tensioned, using a bungeecord.

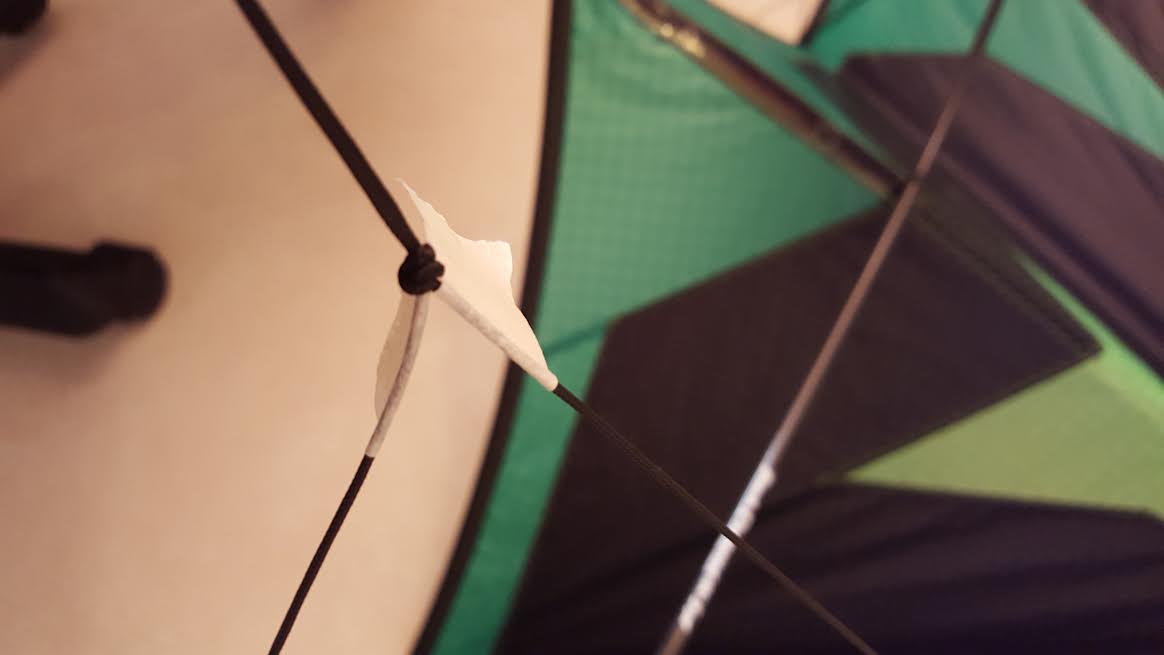
As upperspreaderpatch I don’t need the sewing machine (as stated earlier). Normally I use bisonyl and the machine, but I think in the design of the P3 a black dot on the bright green is not wanted. So I used some moonie-tape. Will protect the sail for many flying-hours.
Almost invisable.
The kitehouse-nose makes the leading edges bend forward over the spine.
Let’s use that big needle again. Making the holes in the T-connectors for the yoyostoppers.
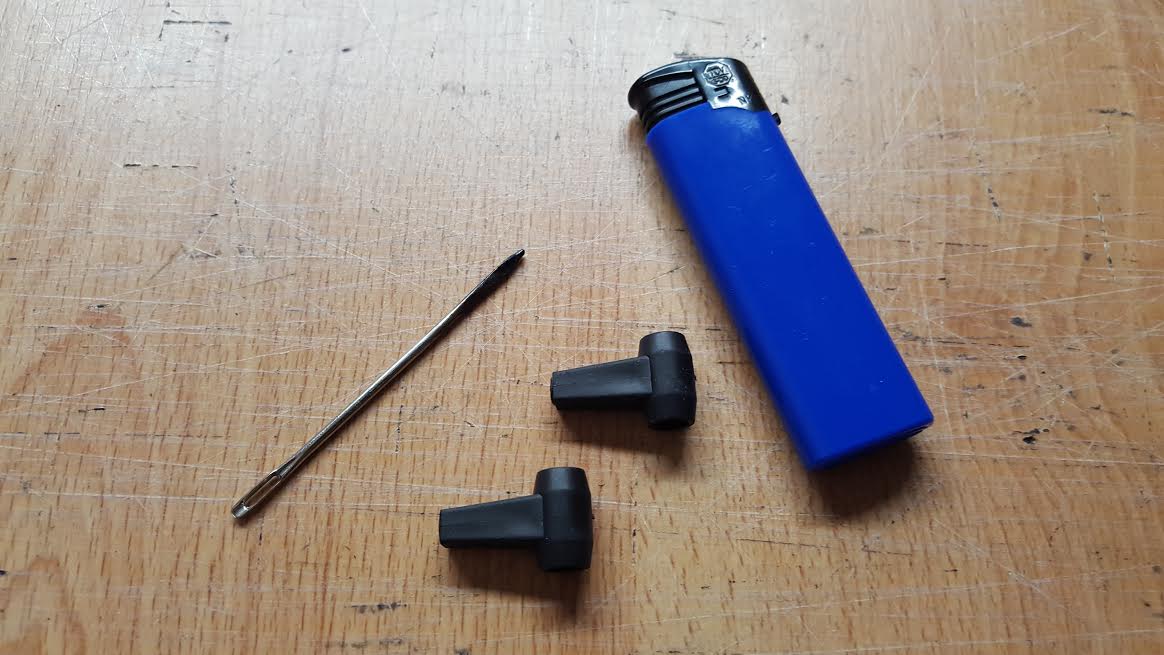
This time the needle has to be very hot. Use a lighter and push it through the connector. Rotate the needle to make a nice, round hole.

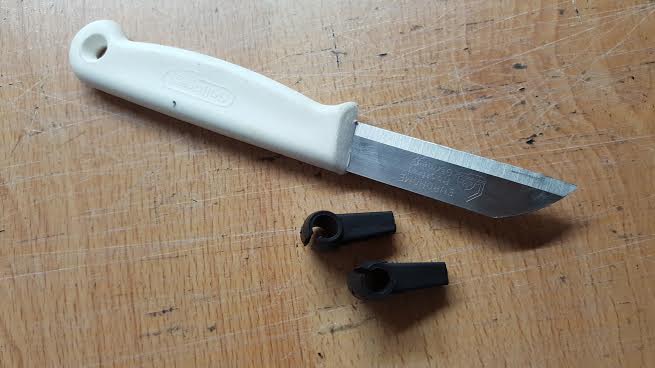
Make a cut. Not in the middle but a bit sideways. This make the yoyostopper lean a bit backwards.
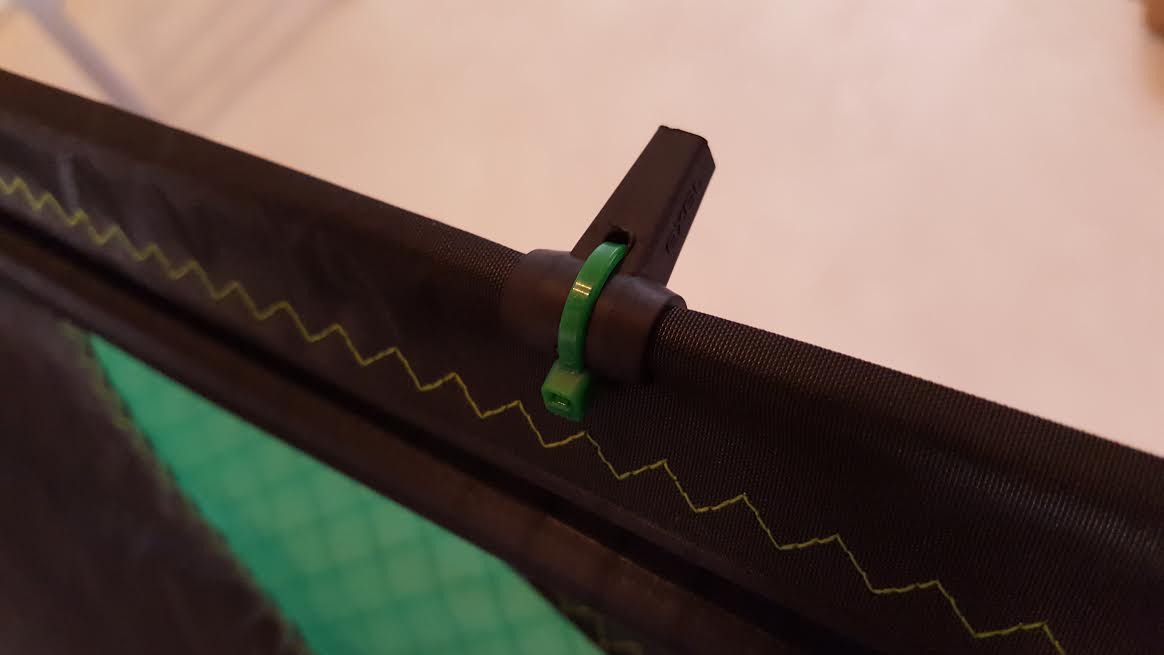
And why not use a green tie-wrap?
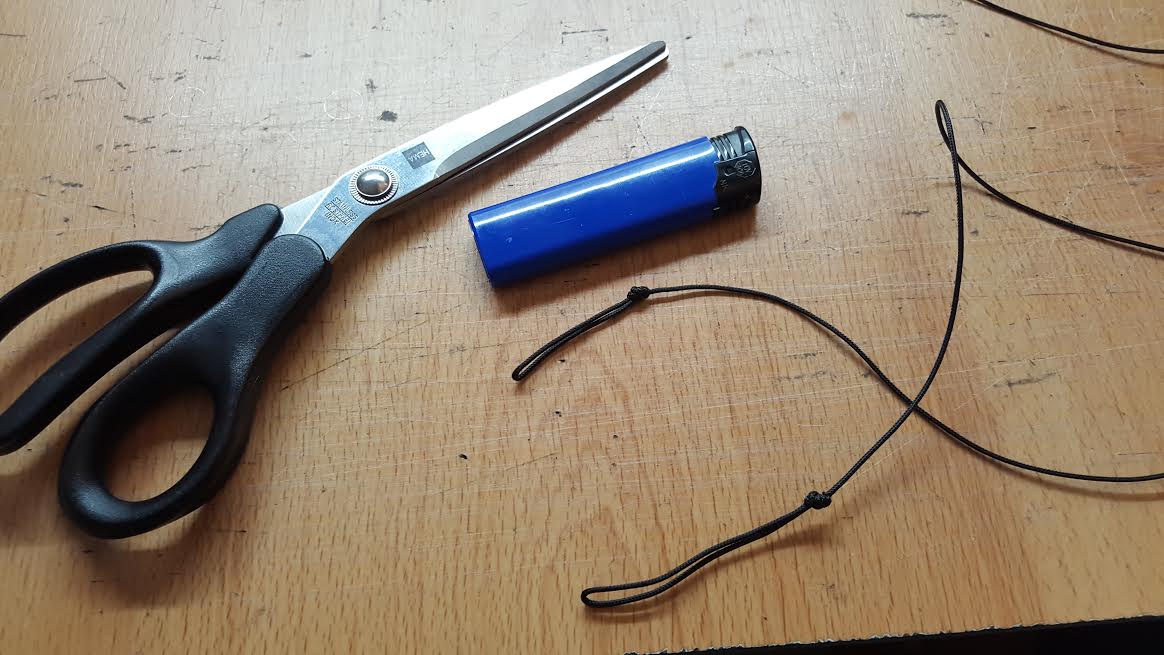
I used to hate making a new bridle. It was a really time-consuming, frustrating job. I developed a method which works great for me. Maybe also for you?
I start with two pieces about 25cm bridle line and make these. The knots are around 1cm from each other. Attach this above the upper-Apa.
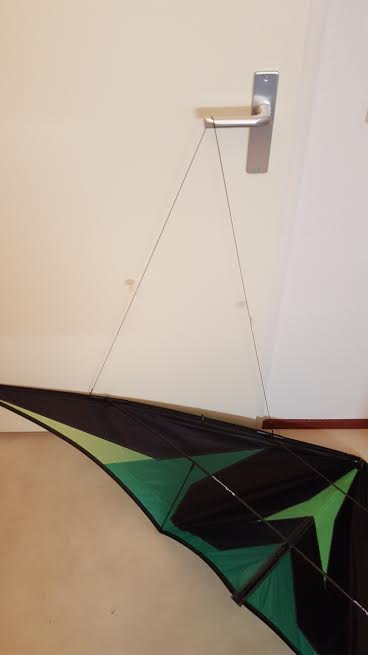
Now take two pieces of 200cm line and make loops at both ends. I make a small loop (will be attached to the pigtail from previous picture) and a bigger one (will be attached to the frame).
Now attach the bigger loop under the lowest Apa and the other end to the middle knot of the pigtail. Get some tape (or a black pen in case of grey bridleline) and mark the lengte of the bridlelegs.
Grab the both piece of tape together and tie a knot as close to the tape as you can.
Cut one of the lines at the other side of the knot and there is you leader.
Use the same method for the inner legs.


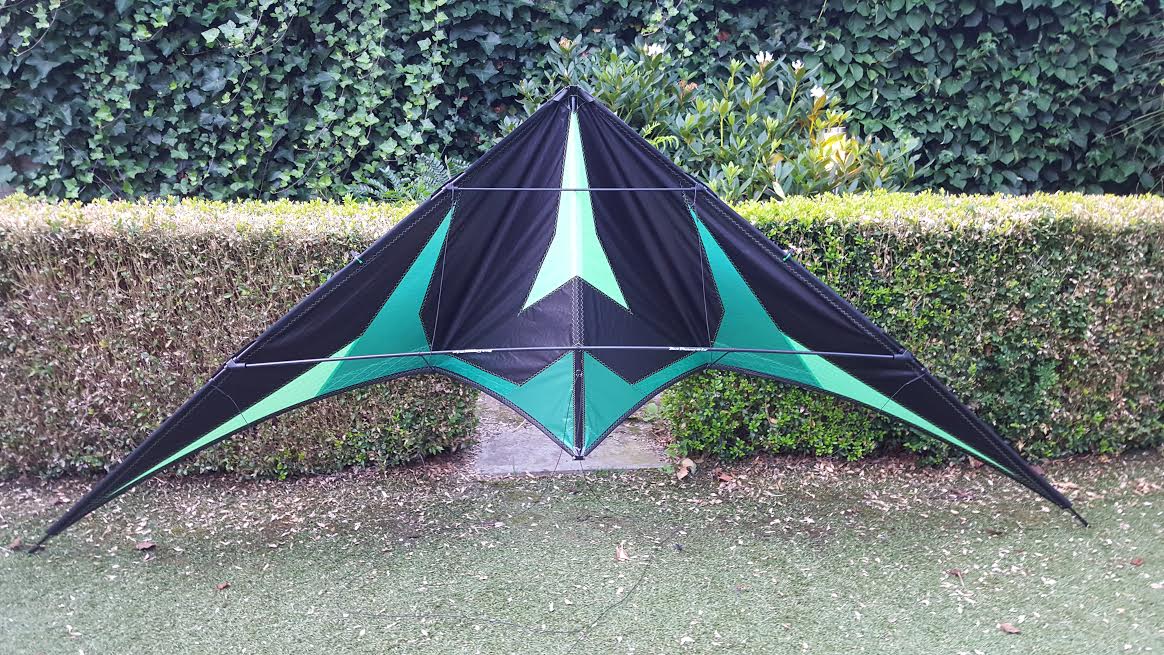
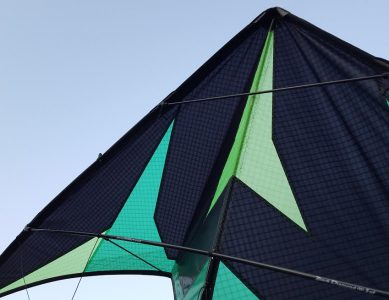
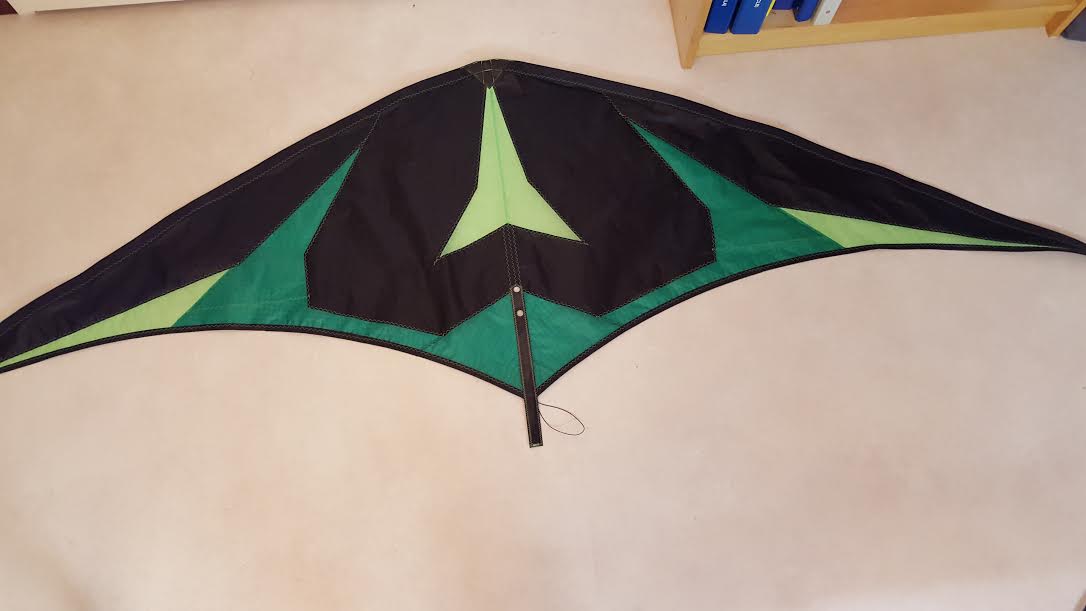
Finished kite.
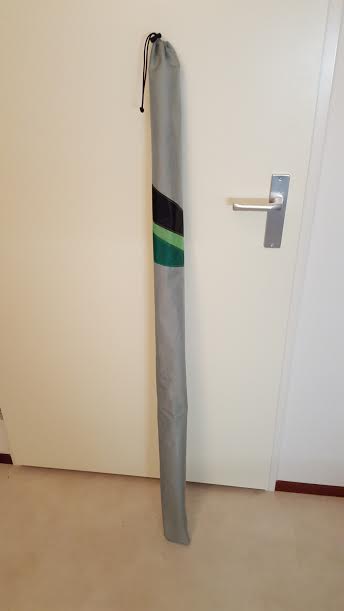
Now the bag. I’ve got some nice material for bags, it is grey and durable. I sometimes use spinnakernylon (the cheapest there is), also very usable.
Cut a strip 25cm wide and the length of the leading edge plus 10cm long.
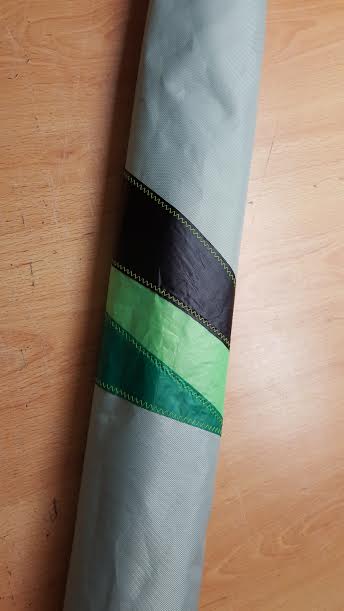
I’ve got a big box full of Icarex-scrap. Very handy for small panels in new kite or for decorating the bag.

I found the three colors of the kite and made three long panels.
Sew it on the strip of bagmaterial, a bit above the middle.
At the top, fold about 2cm backward and stitch it.
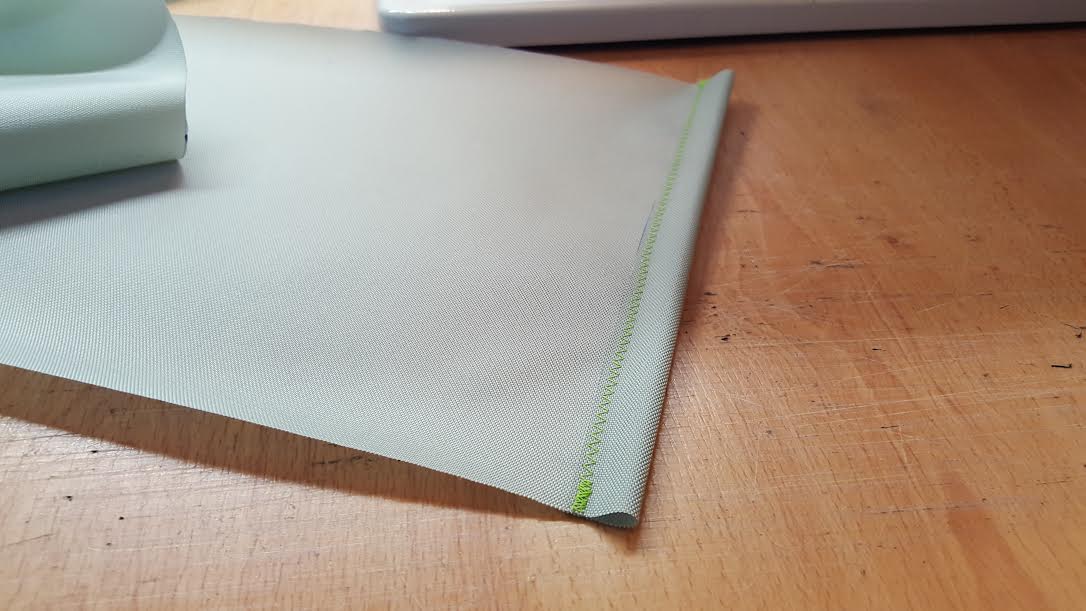
Fold the whole thing in length and make the long stitch, set the sewing machine on a straigth stitch.

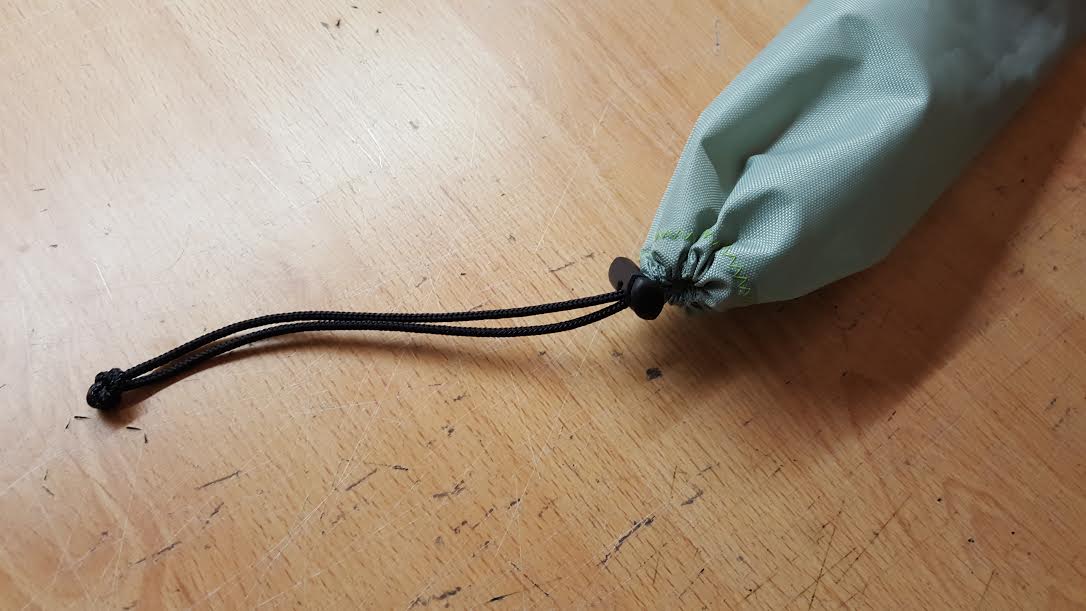
Take a thick rope and lead it through the tunnel on the top.
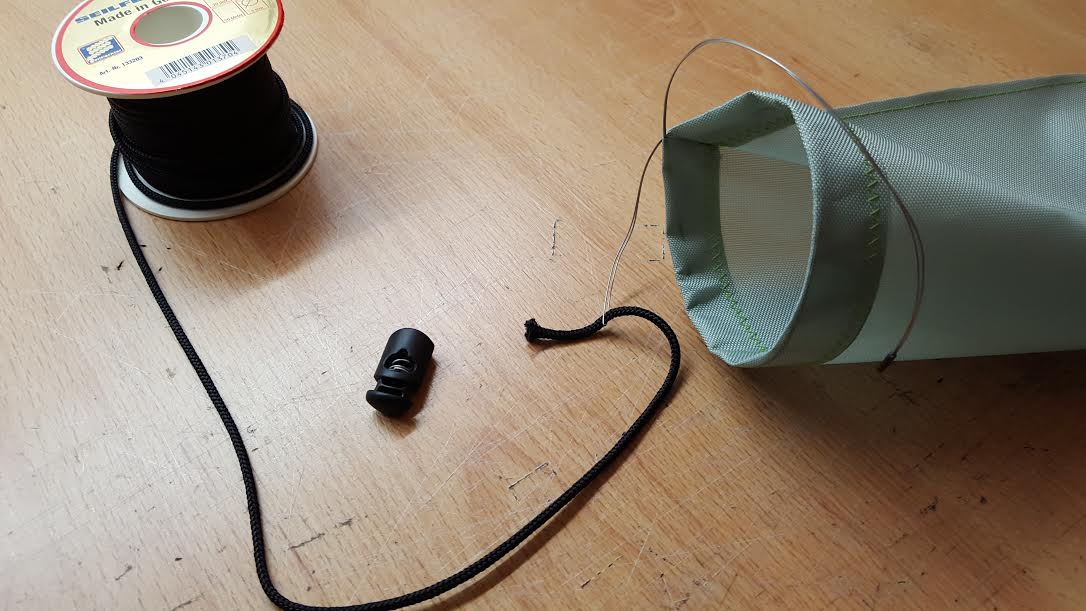
Now turn it inside-out and there is your bag!